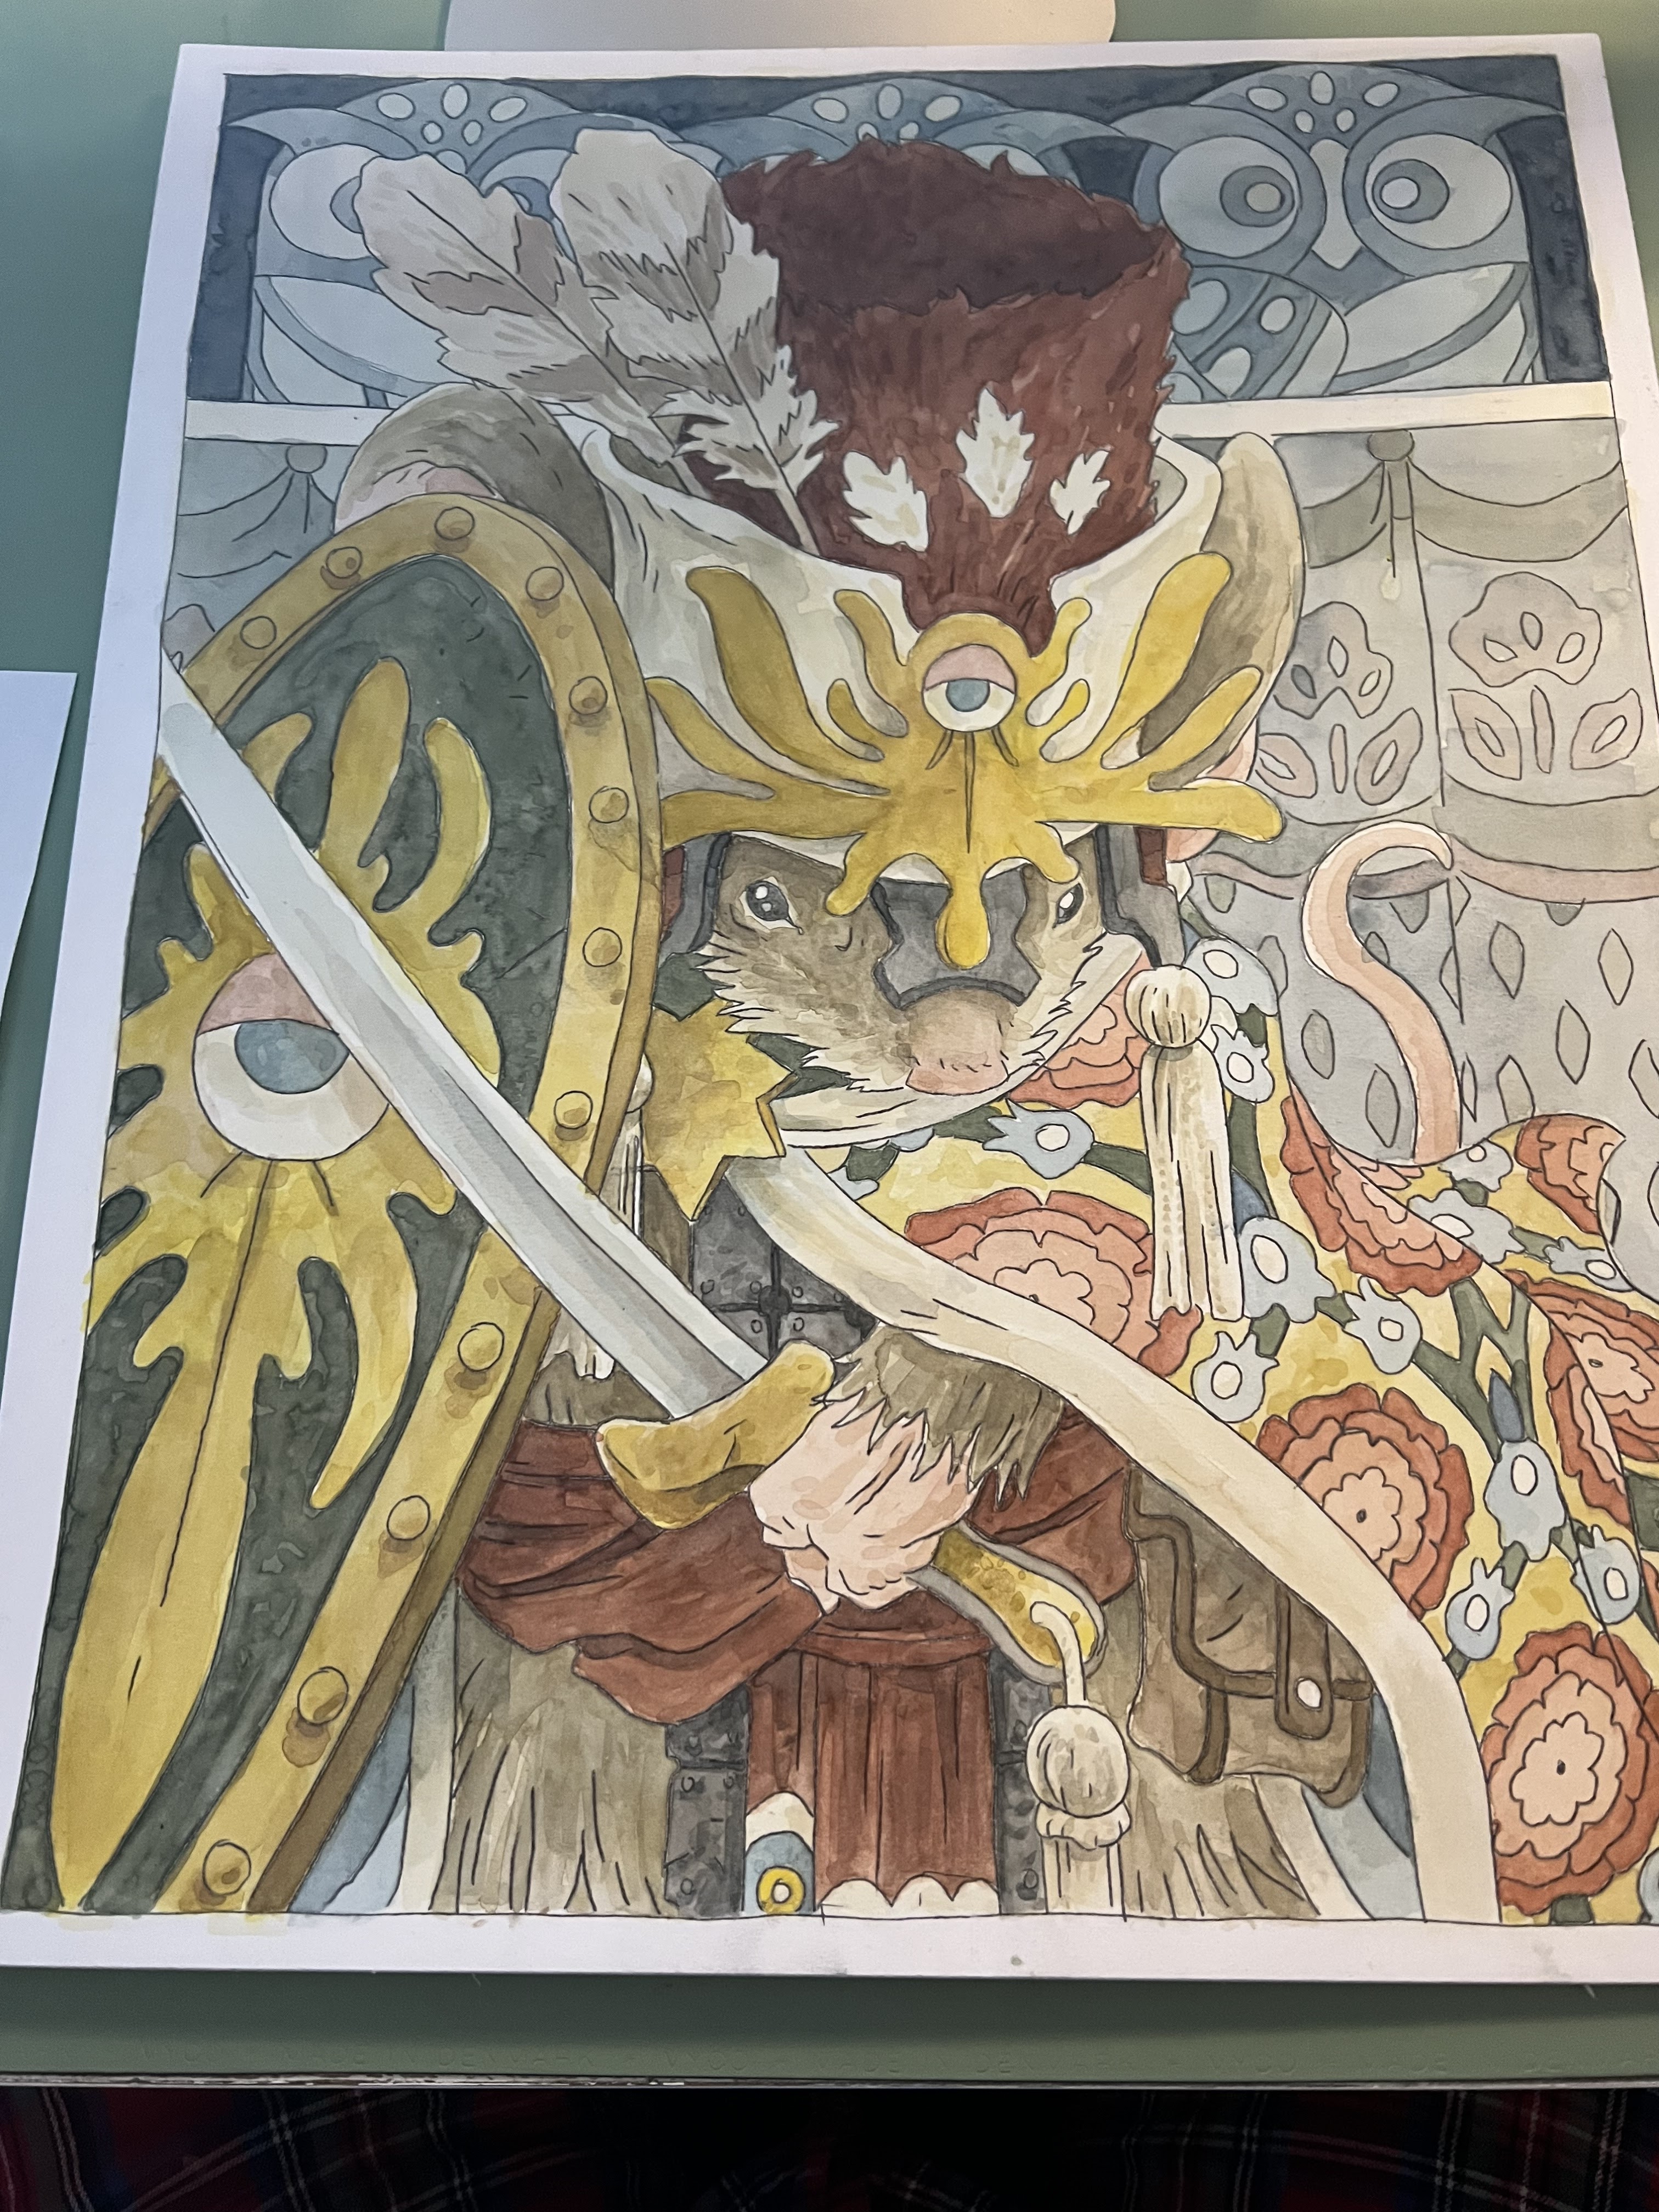
For my return to Heroes Con this week, I've painted two Mouse Guard pieces. They are each 16" x 20" in Watercolor and color pencil. One of them will be put into the Saturday art auction at the convention. The other will be available at my table the next day with a price set from the winning bid of Saturday's auction.
In this blogpost, I'll go through the steps in making the pieces (or at least as much as I was good about photographing as I painted).
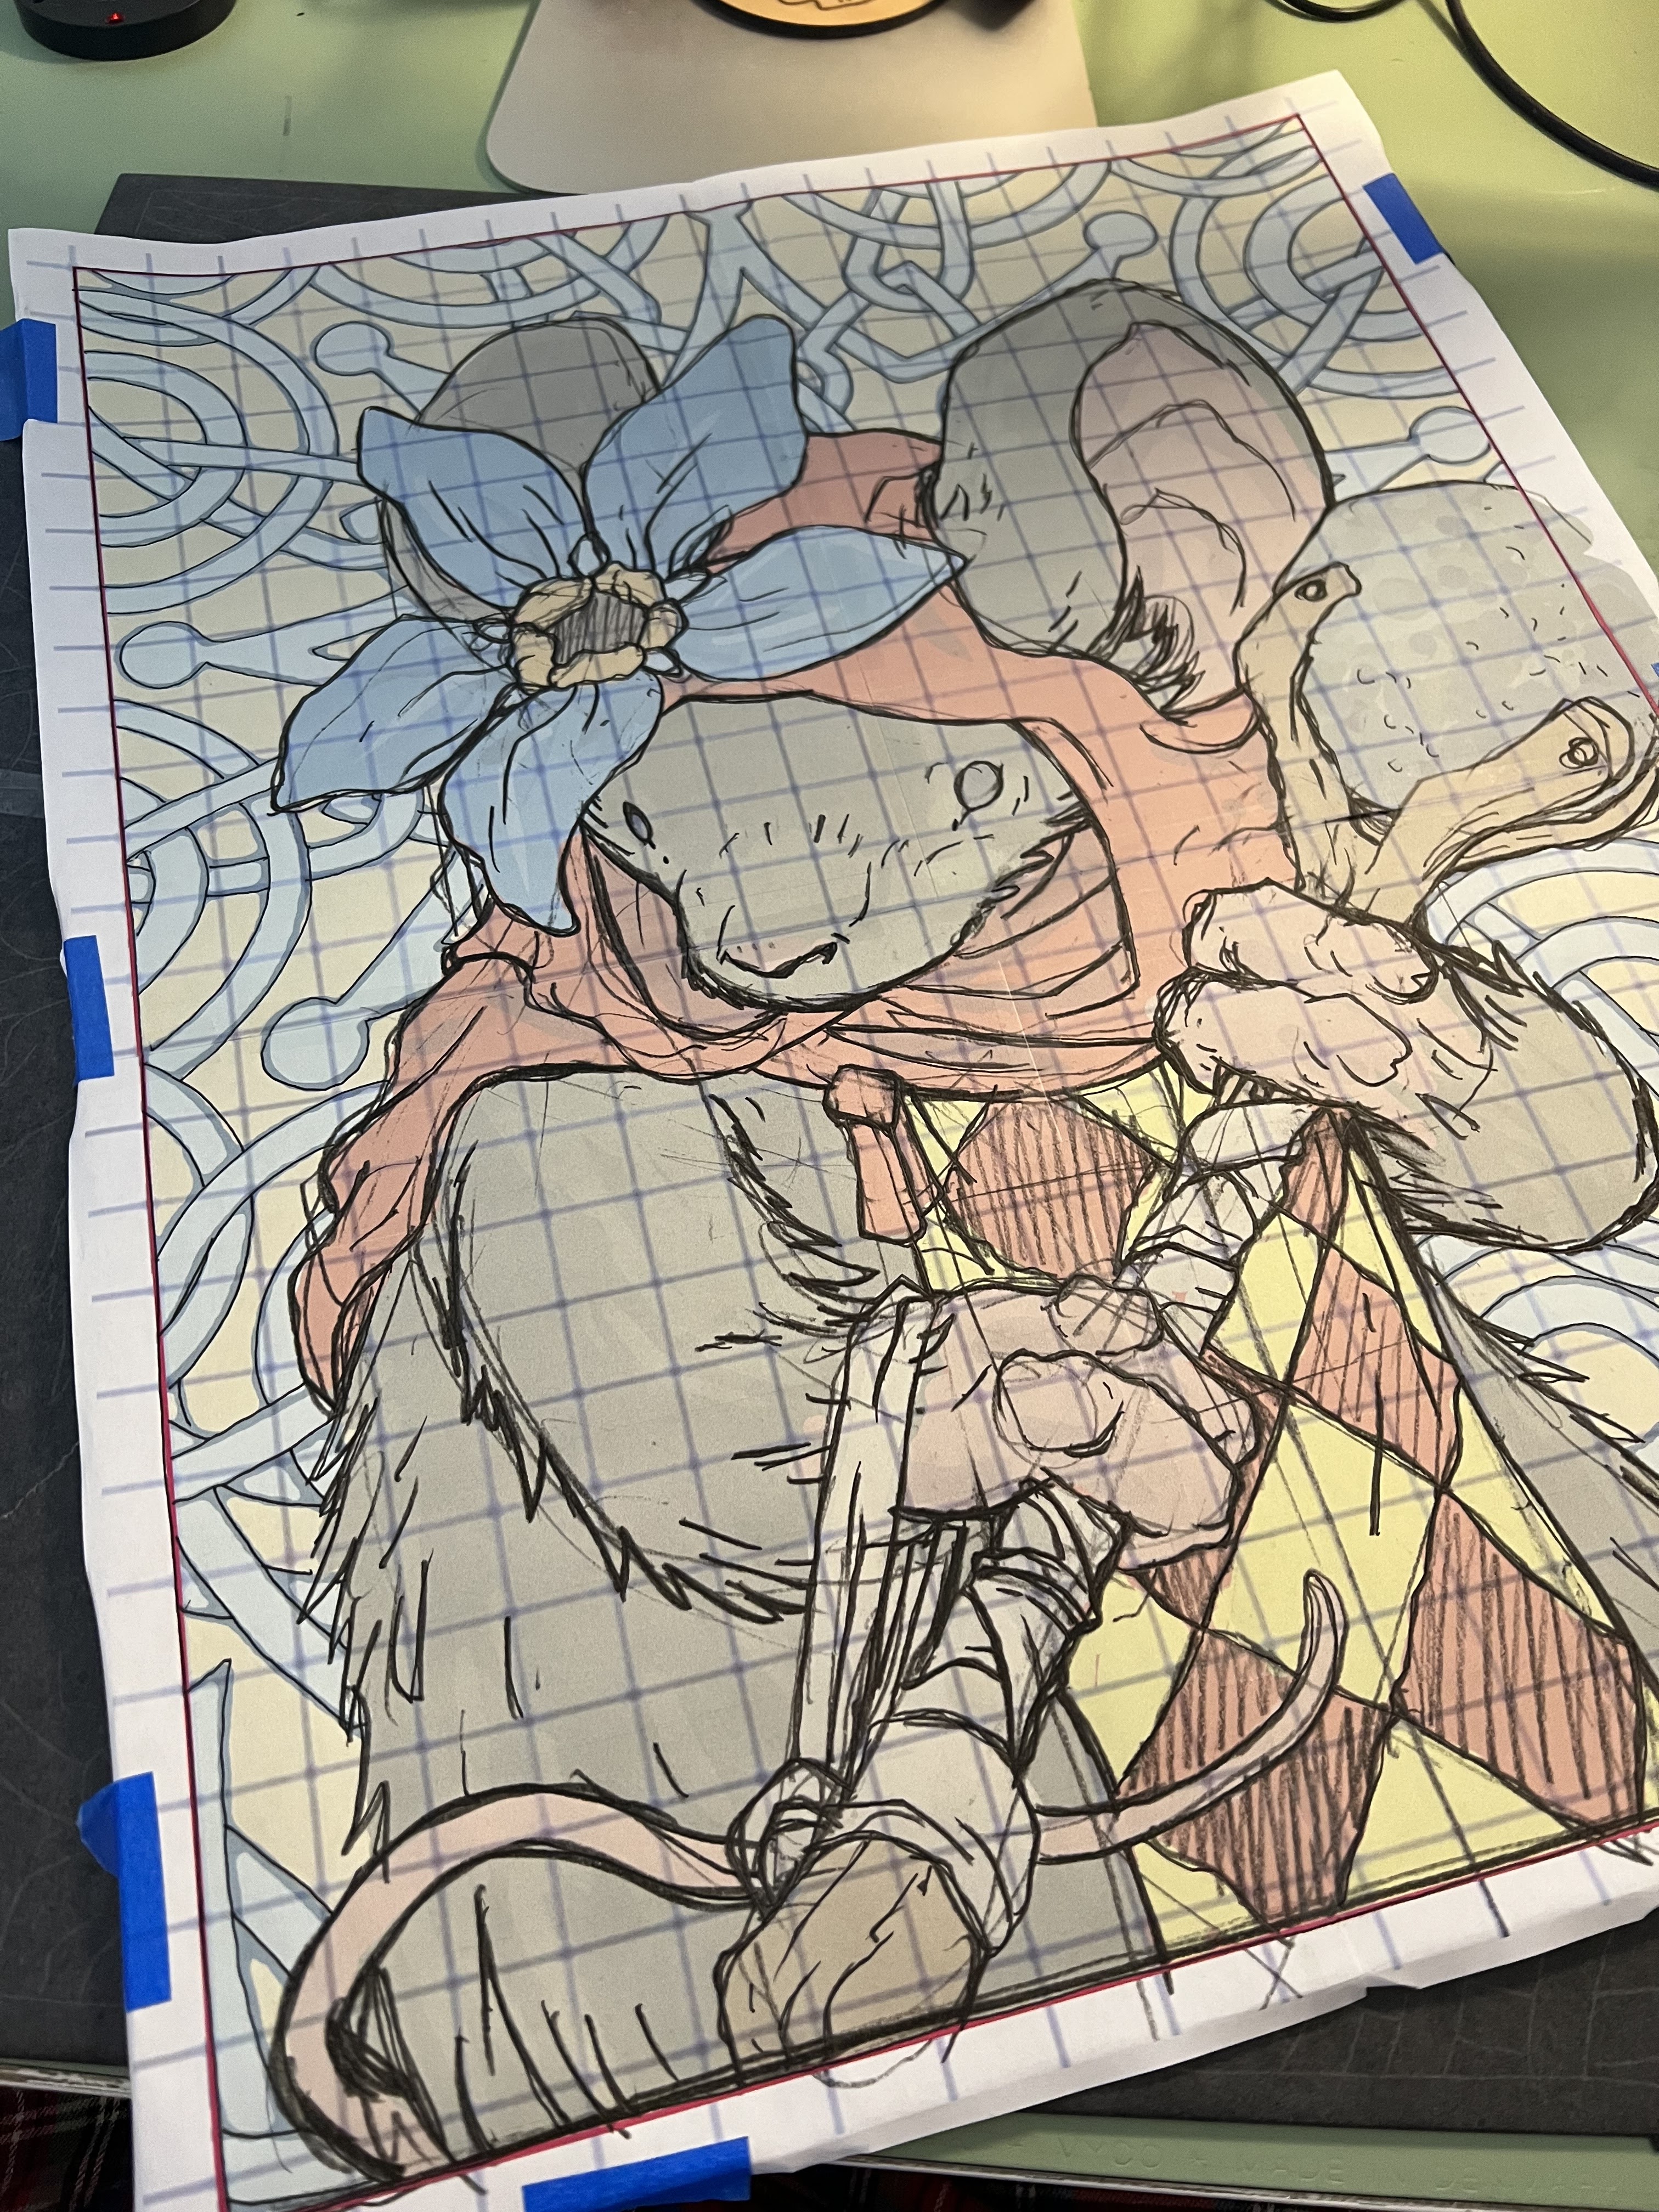
With the Owlhen Caregiver story up for an Eisner and Ruben Award I wanted to do the mouse from that tale who is never named in the story, but I've since called 'Bilbin' after the inspiration for the patterning in the story came from illustrator Ivan Bilbin. I took a drawing that I'd digitally flatted and blew it up to 16" x 20". To print it out at that size, I had to do it in four sheets, and the grid you see is to just help re-align the image when I tape those sheets back together. I then taped a sheet of graphite transfer paper to the final illustration board, and then tape this printout on top of it.
Using a ballpoint pen to go over all of the lineart on the printout, the transfer paper leaves a perfect copy of the art on the illustration board after I peel back the graphite paper and the printout.
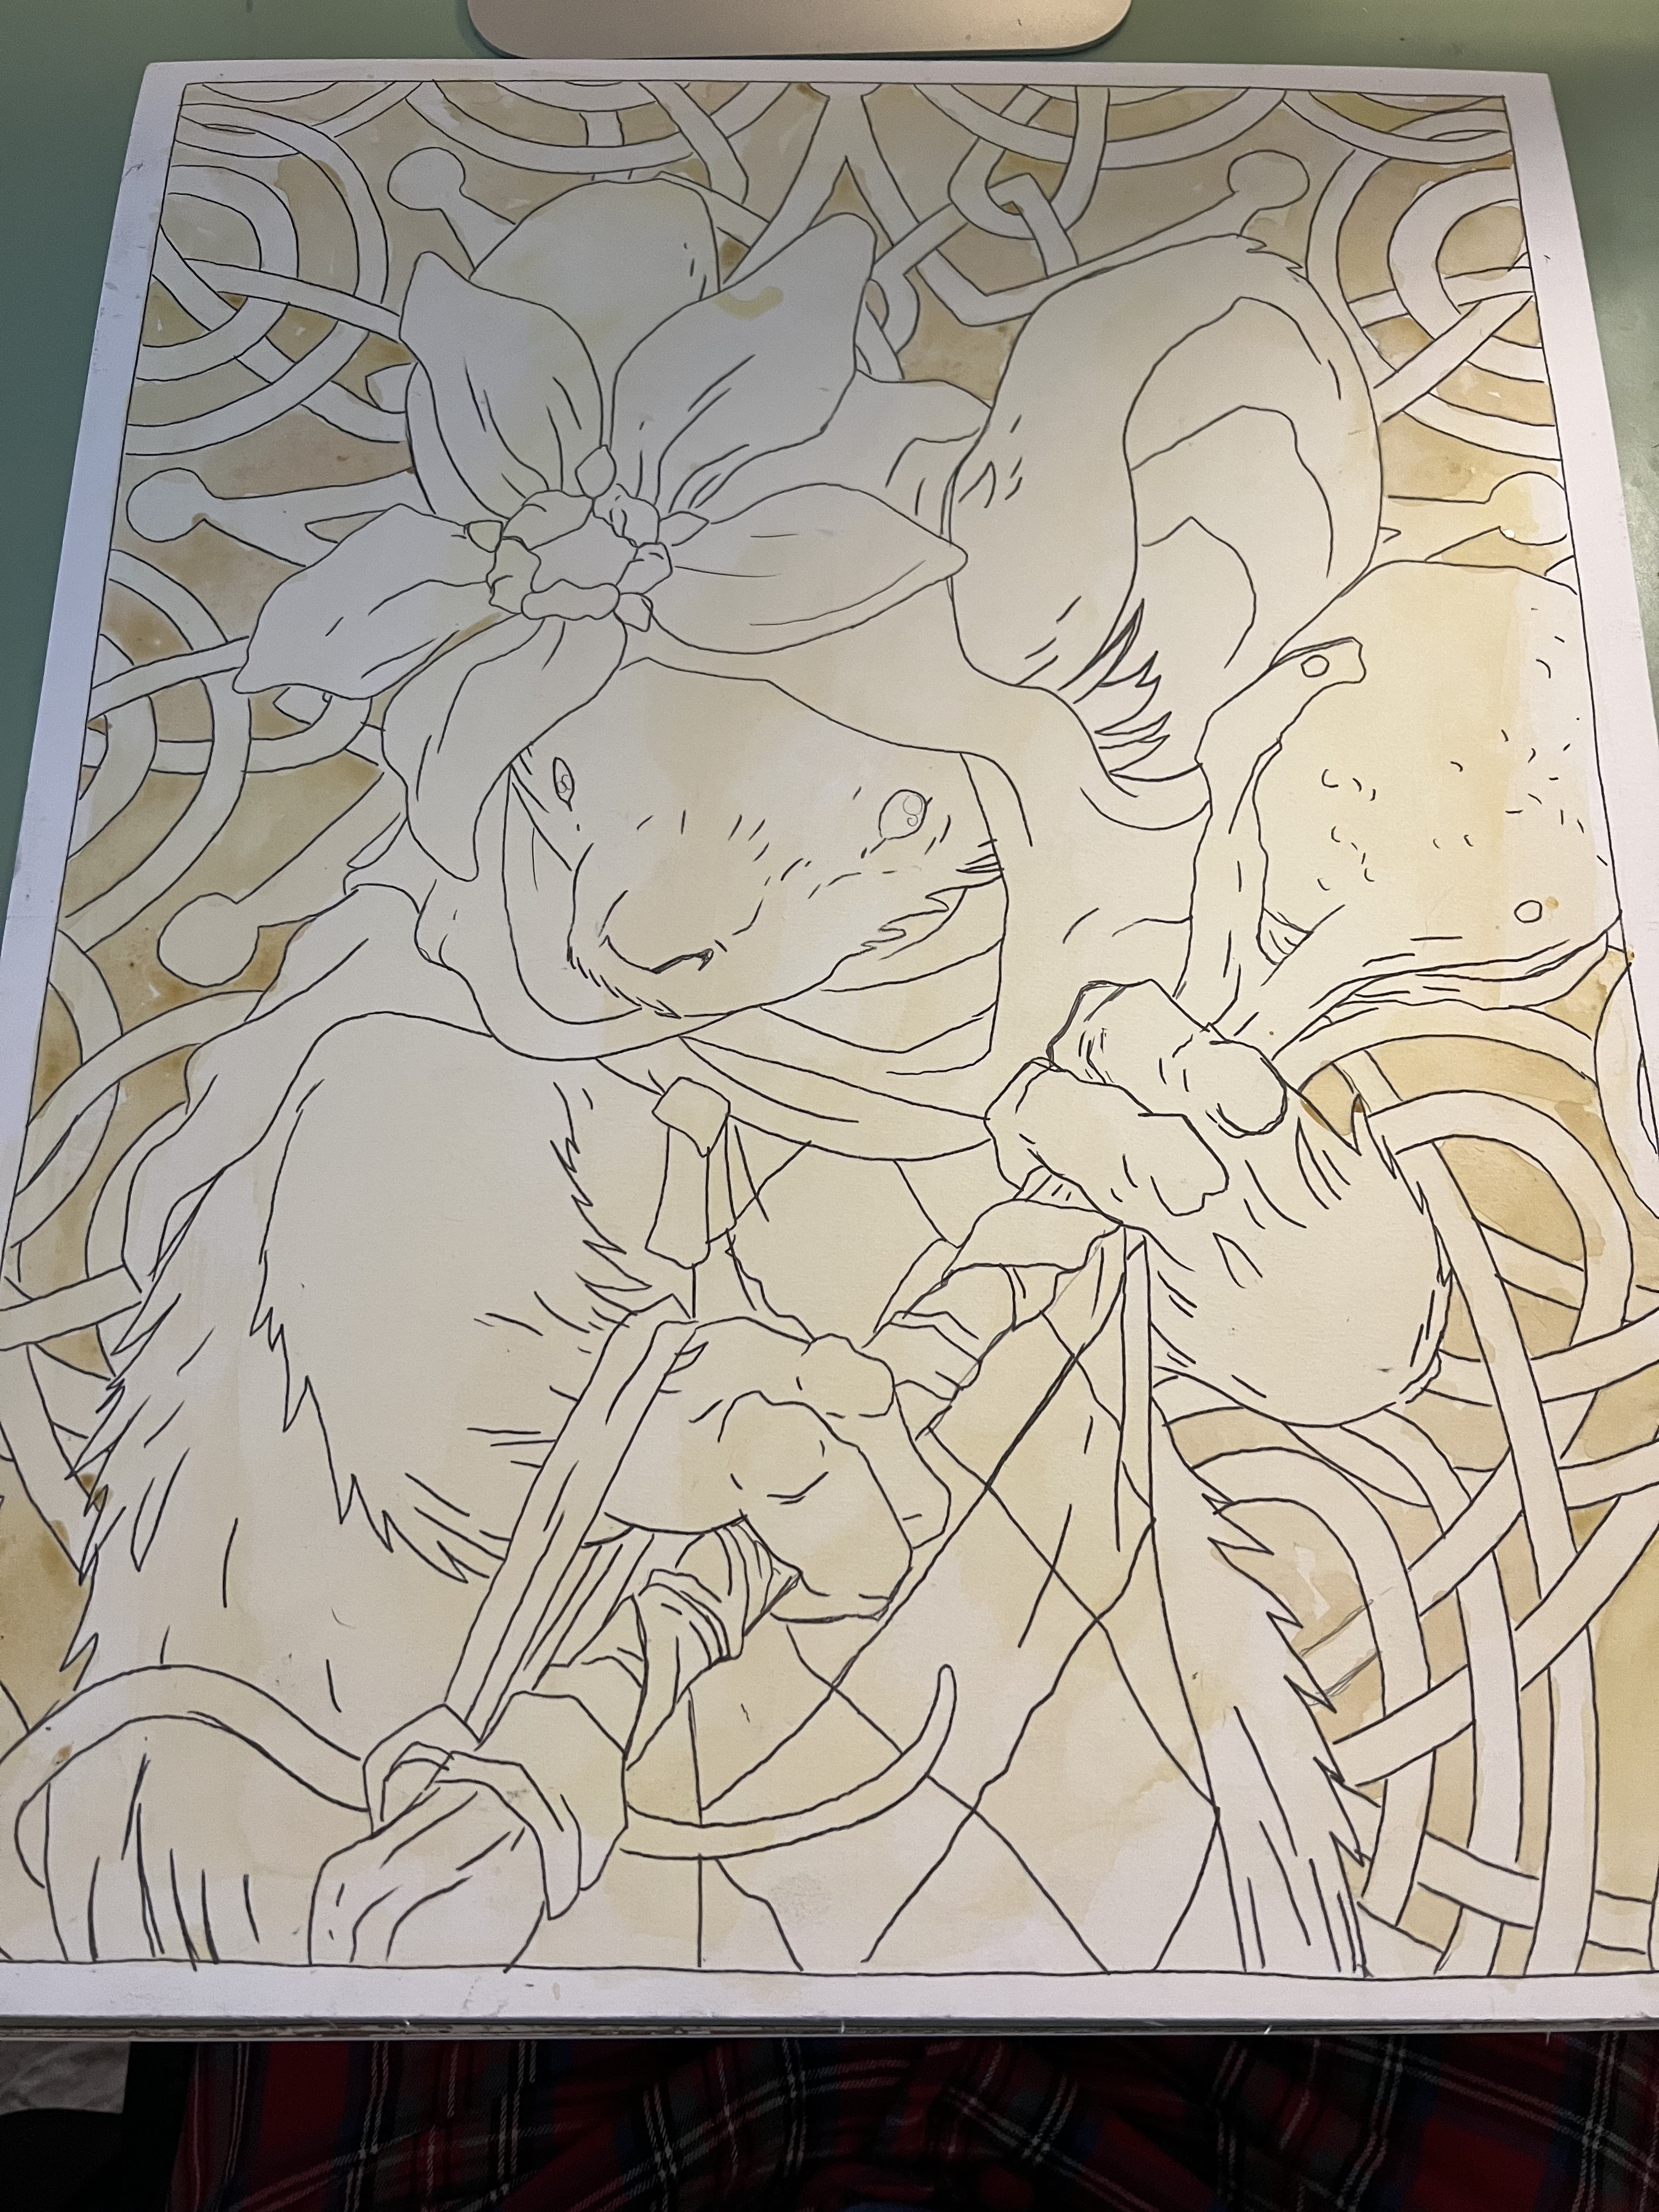
For the other piece, I decided to do a painting of Piper the Listener, who also appears in the Owlhen issue. Same as with Bilbin, I drew her, digitally colored a study, and then blew it up to 16" x 20". The method for printing it out at that scale and taping down the transfer paper was the same as before.
Like the Bilbin piece after I traced over the printout with a ballpoint pen (and medium pressure) underneath was revealed a perfect transfer
Time to start light warm washes. Even though the entire image isn't warm colors, I got at least a pale yellow base over everything
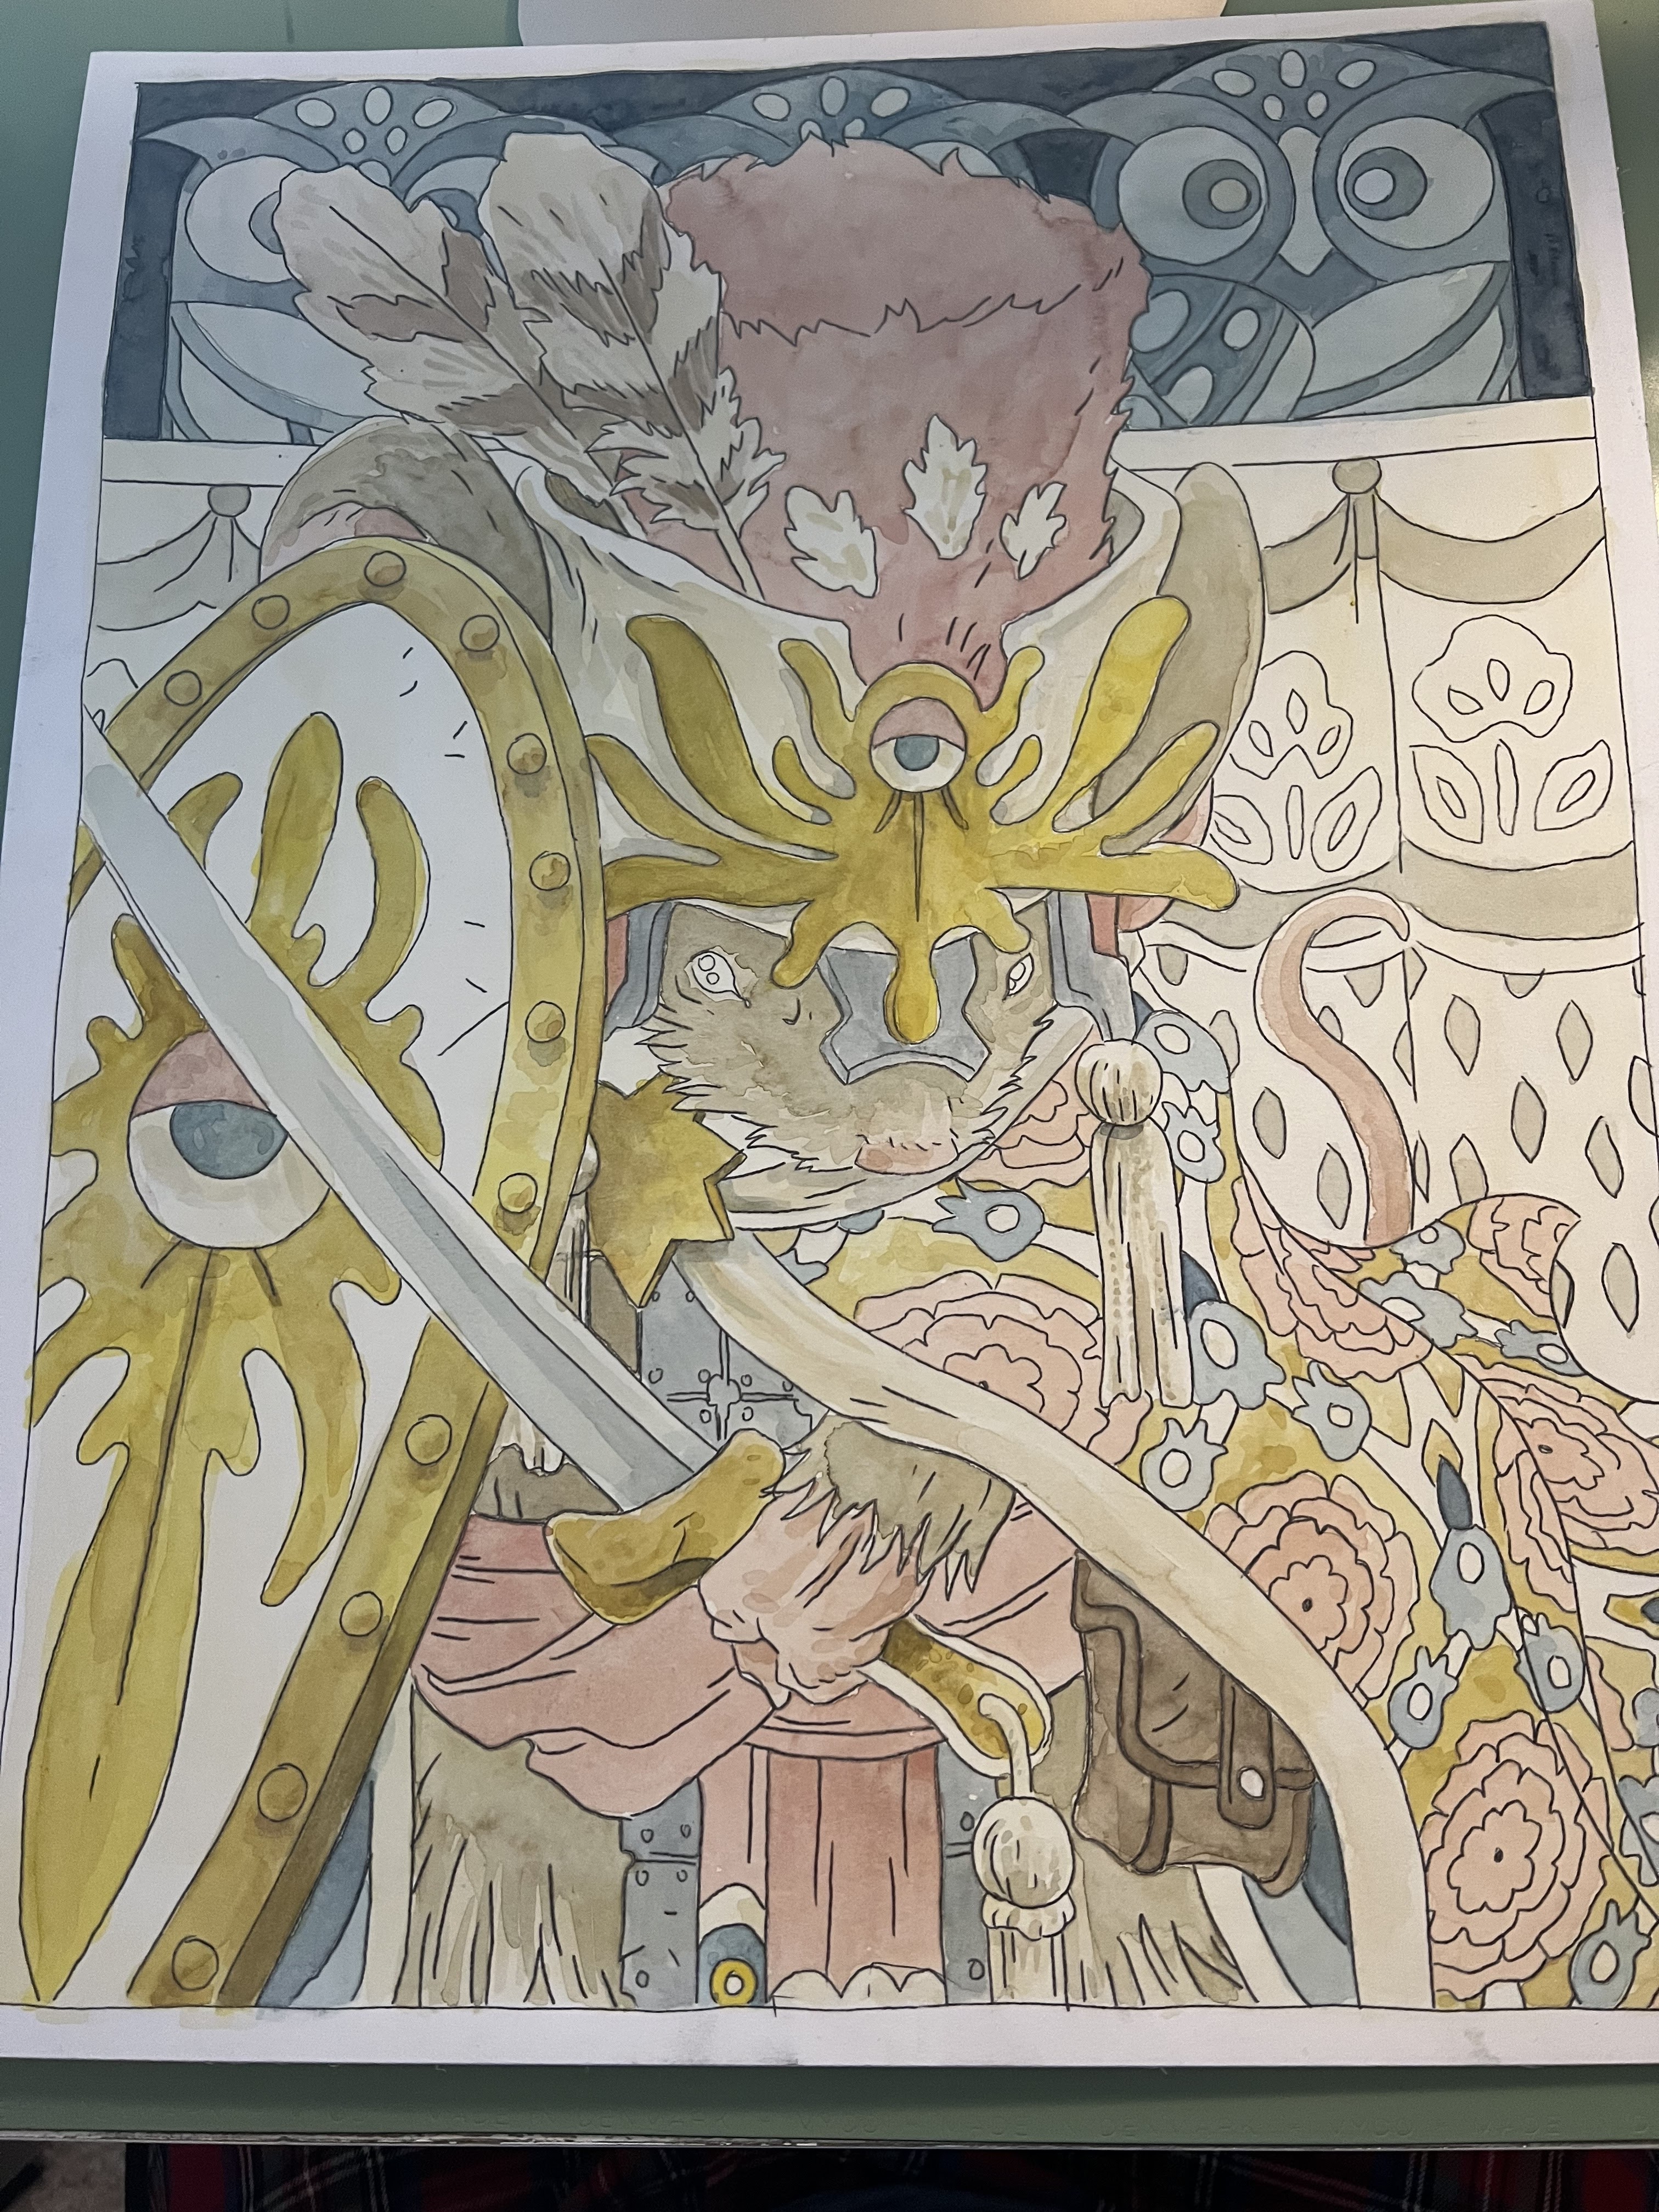
Same treatment for Bilbin. And like Piper piece, I started adding in more density of that color where I knew I needed it. I also added some paynes grey to the top panel
Since I had some yellow going, I deepened the areas that needed the deepest yellows on Bilbin
The pale blue grey of Payne's Grey became the knotwork behind Piper, and the deeper yellows were appropriately added to Piper's flower and tabbard.
Added some more shade & tone to the ywllows and a little bit of pink details on the hat and shield
And it was time to start building up more areas with their warmer base colors.
Piper's fur took several passes to build up to the right opacity for a base before adding shading.
More tonal work on Piper's fur and mace and flower
Bilbin's hat and sash also took several layers before the opacity/intensity was right.
Spent some time adding in all the right tones for the cloak design
I should have gotten Piper's cloak in earlier, and it took a while to get it a deep and rich enough color.
More passes at Piper's cloak, adding the mace handle, and her eyes
Final rendering work on Bilbin himself
And then pushing the background tones back to where they needed to be.
Last painted details on Piper
Because I always think my work looks better with line, I went back a day later and 'inked' in the linework with a dark brown color pencil. Using a color pencil means that the linework is softer and not competing against the painterly bits of the watercolor as much.
The same color pencil treatment for Bilbin. It took a lot of sharpening the pencil inbetween strokes because the tooth of the watercolor on illustration board wears down any kind of point on the pencil very quickly.
Hope to see folks bidding on Piper at the auction--and then whoever gets to me at my table first thing on Sunday can purchase Bilbin for the same price.