Tuesday, April 28, 2015

5x7" Saxon Print process

This year at conventions (and through my online store) I'll be offering a few new matted prints. For one of these, I did a new image of Saxon with a lantern. The print is 5" x 7" in a 8x10 mat. To the left you can see the finished art, but for today's blogpost, I'll go through the steps involved in creating the piece. 

The original art is bigger than 5x7. I drew it larger to give myself a bit more breathing room while penciling and inking it, but knowing it was going to be printed smaller led me in decision making for the image.


I started with the idea of a single character, in a non-action pose. I'd contemplated having it be a portrait, but decided that it would be more interesting to show full body and perhaps some suggestion of a setting. So, in pencil, I sketched out Saxon holding a sword and lantern. With the lantern, I thought could play up some interesting lighting effects. For the setting I sketched in some suggestion of leaves and a stick-strewn floor, but figured what it lacked in detail would be made more interesting with the glow coming from the lantern.


Because the lighting effects were going to be so important with this piece, I did a little photoshop underpainting on my pencil rough to work out if my idea would look the way I vaguely was imaging it. This step helped me think about how I wanted to handle the shadows...if I wanted to have them be painted in color details or values established by the inks. I opted for the colors to do the heavy lifting in this case other than a bit in the details on the floor where I less densely concentrated the black in the part that would be the most illuminated.


I printed out my Photoshop composite (I turned down the underpainting a bit so the pencil lines stood out more clearly) and taped it to the back of a sheet of Strathmore 300 series bristol. On my lightbox, I was able to see through the bristol to the printout so I could follow my pencil lines as I inked on the surface of the bristol. I used Copic Multiliners to ink with and tended to use the 0.7 and 0.3 nibs for most everything here. I do wish that in the same way I left open white areas in the lantern's range on the ground, I'd left some less dense highlights on the chainmail piece. Oh well.

After the inks were finished I scanned them into photoshop and started prepping my file for coloring. The most tedious part of this process is called "flatting" where flat (non-rendered) colors are laid in establishing what areas are which colors. It's basically an exercise in "stay in the lines" coloring. 

Once the flats are established, it's easy to select parts to render and add effects to. For most of that I use the Dodge and Burn tools in Photoshop. They are used to lighten and darken whatever the base color you are going over. I use a stock Photoshop brush that has some texture while I do this to get the final look of the piece.


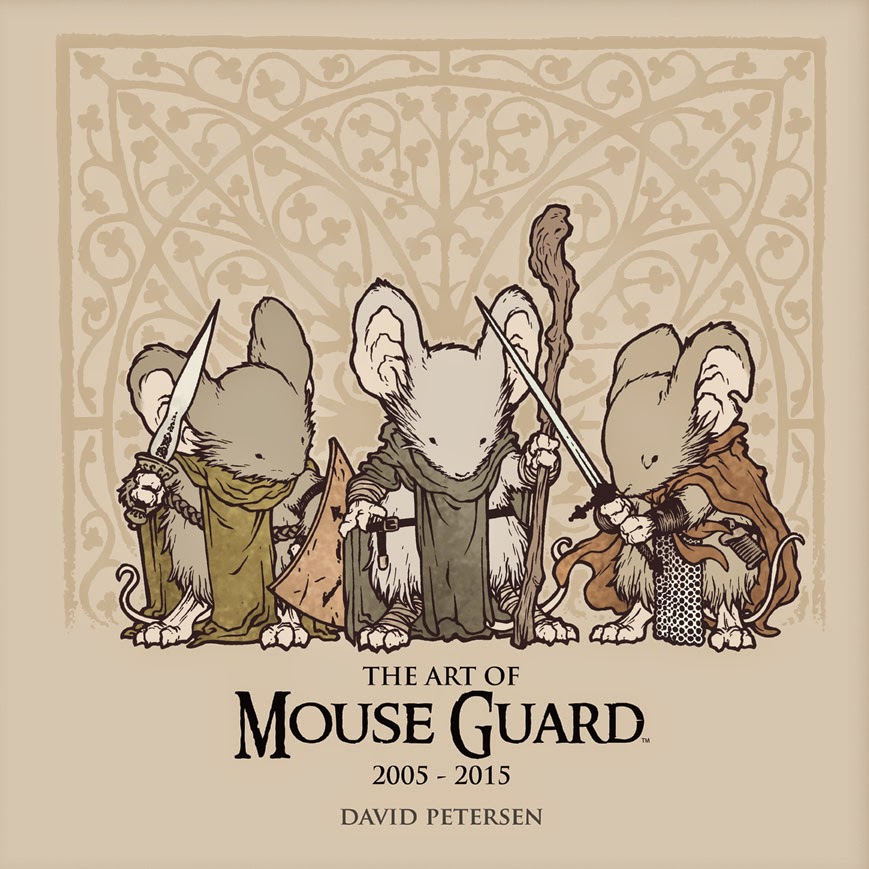
And here again is the finished piece. The prints are available in my online store or at my convention appearances.

Saxon Print: http://mouseguard.bigcartel.com/product/8x10-saxon-print


2015 Appearances:
C2E2 April 24-26
Motor City May 15-17
Denver Comic Con May 22-25
Heroes Con June 19-21
Long Beach Comic Con: Sept. 12-13
Baltimore Comic Con Sept. 25-27
New York Comic Con Oct. 8-11
Art-Bubble Comics Festival: Copenhagen: Nov. 14-15

Tuesday, April 21, 2015

Art Book Info

In July a new Mouse Guard art book will be released that celebrates and explores my work over the 10 years Mouse Guard has been in-print and goes into almost a decade of drawings prior to that showing the development of Mouse Guard before it ever was Mouse Guard. 

Here is the full solicitation:
THE ART OF MOUSE GUARD: 2005-2015 HC
Retail Price: $59.99
Author: David Petersen
Artists: David Petersen, Mike Mignola, Stan Sakai, Geof Darrow, Various
Cover Artist: David Petersen

What’s To Love: Since its debut in 2005, David Petersen’s Mouse Guard has been a New York Times bestseller, won Eisner and Harvey awards, and has become an influential staple of the comics industry, earning thousands of fans. In honor of the 10-year anniversary of the series’ debut issue, The Art of Mouse Guard: 2005-2015 is a celebration of the beautiful world, memorable characters, and intensive artistic process of David Petersen’s beloved series.

What It Is: Celebrate the first 10 years of a comics classic from the very first sketch. For the first time since the series debut, David Petersen’s process for creating the world of Mouse Guard and bringing it to life in stunning illustration is documented in exquisite detail. With never-before-seen sketches; 100 pages of full-color, oversized artwork; and commentary from colleagues, collaborators, and Petersen himself, readers and fans get an unprecedented look behind-the-pages at how their favorite characters and adventures were born.

Last spring, my then editor, Rebecca "Tay" Taylor came out to our home in Michigan to go through all my archives of sketchbooks, file drawers of notes, hard drives of files...it was three days of intense digging, recollecting, note taking, and scanning (of which I only really did the recollecting.)

This is a massive book! 368 pages 12" x 12" with tons of stuff the general public has never seen, as well as things seen for the first time at full-size or without text/logos.

The unofficial theme of the book is "evolution". I found it hard to look at some of the drawings I was doing as a professional even long after Mouse Guard started. But it was seeing the book as a whole and watching as my art changed from chapter to chapter, as the process changed, and how Mouse Guard will continue to change. Art books are a peek behind the curtain into an artists studio, to see all the flaws and cracks and work that leads to the published book, and I think we accomplished that with this book.

If you are interested in The Art of Mouse Guard 2005-2015, please pre-order it from your local comic shop. We rely on fans to tell their retailers they want the book, it's the way shops know to order it and how many to order. 

Below you can see more samples of the types of content you will find inside the pages:


2015 Appearances:
C2E2 April 24-26
Motor City May 15-17
Denver Comic Con May 22-25
Heroes Con June 19-21
Long Beach Comic Con: Sept. 12-13
Baltimore Comic Con Sept. 25-27
New York Comic Con Oct. 8-11
Art-Bubble Comics Festival: Copenhagen: Nov. 14-15

Tuesday, April 14, 2015

Stained Glass "Veyga" piece

This last week I've been recovering from back to back travel to Seattle and Belgium and then returning with a head cold. To help ramp back into full-time work, I created this piece for myself. It wasn't just for fun, but will be included in this year's Mouse Guard sketchbook (coming in July).  I've posted about stained glass in my work before and the importance it has to showing the culture, artisan craftsmanship, and myth-telling of the characters in a story. For today's blogpost I'll walk through the creation of this piece.
Originally I set out to do some kind of pattern art piece for the back cover of my sketchbook and I didn't have stained glass on the mind at all. But, while using google image search for pattern inspiration, I saw a piece of painted glass. Instead of using that image though, I went online to the place of my previous employment Materials Unlimited and looked at their stained glass offerings to find this window. I liked the round center portrait and the shield motif.


For the portrait though, I needed a mouse design. What mouse would be honored with the labor and effort of craftsmice creating a stained glass window of them? My answer: A Matriarch. I re-used one of the Matriarchs already depicted in stained glass in the Matriarch's Chamber "Veyga". From working at Materials Unlimited and also having done some stained glass work myself, I was familiar with the shapes of pieces glass can be cut into by hand and, therefore, where lead lines would go. This experience made simplifying a mouse portrait into a glass design all the easier and more satisfying. 

In Photoshop I re-worked the existing glass photo elements and my new portrait into a square design and digitally layed out all the lead lines. Unfortunately, I was too lazy/unambitious to alter the designs of the shields to incorporate existing Mouse Guard heraldry, but as this piece was being done to shake off my travel/sickness rust, I pushed past it with the goal of getting the art finished. I printed out the design and taped it to the back of a sheet of Strathmore 300 series Bristol. This is a scan of the printout with the blue painter's tape used to secure it to my bristol included. 
With the printout on the back of the bristol, I was able to ink the piece on my lightbox where I can see through the bristol to use the printout as my "pencils". Because most of the lines are so thick, I used a 1.0 Copic Multiliner pen for most of the lead-work...but unfortunately that pen was of a disposable variety, and mostly dead when I started. So I took it apart, and rolled the dice refilling the ink cartridge by hand and a bottle of Bombay Black ink. Luckily, it worked! and then I finished out the finer details with a smaller nib pen. To help me isolate the details that are meant to be painted on the glass (opposed to lead lines separating different pieces) I avoided getting those detail lines from touching the lead line inks.

The last step was to scan my finished inks and color the piece. This included isolating all the 'painted & fired' detail inkwork for color holds, and flatting out the base colors. I pulled a lot of the palate from the original window, but I simplified the field glass to be less colorful. To render the color and add texture, I used the Dodge and Burn tools with a stock 'drybush' brush. The key to making this look authentic was to add the illusion of both grime and shadow where the glass meets the lead line. The other trick was that I selected pieces of glass in the same area of color and then lightened, darkened, and adjusted the color balance so they looked like separate pieces of glass instead of a Photoshop fill-tool layout. 


2015 Appearances:
C2E2 April 24-26
Motor City May 15-17
Denver Comic Con May 22-25
Heroes Con June 19-21
Long Beach Comic Con: Sept. 12-13
Baltimore Comic Con Sept. 25-27
New York Comic Con Oct. 8-11
Art-Bubble Comics Festival: Copenhagen: Nov. 14-15

Tuesday, April 7, 2015

Fan Art

It's really heartwarming and flattering that something I made is enjoyed enough that people do fan art of it. And this week I wanted to share a batch of artwork made by fans to celebrate Mouse Guard:
Jen Chan


Andrea Tosto

Wedding Cake topper for Alex Steinke by Sugar High Inc.


Elizabeth


Erin English

Henrik Dannevang 


A tattoo on Mauro Reis 

Kaleb Whiteford


Lowe

John Marsh

 Steve Zieser


Stef


xFireflySkyx

The remaining pieces are from fans in Turkey who had a drawing "Mouse Guard Battle" theme 

Alp Can Dürgen

Çağdaş Ülgen


Diren Ayhan


Emel Alp Sarı


Emrah Tumer


Erinç Kargan


Mehmet Korkut Öztekin


Gökhan Erbaş


Necmi Yalçın


Ömer Tunç

Ramazan AbbasoÄŸlu

Sarp Selcuk 

Semih Ãœnal


 Süleyman Ozan Sari

Tamer Poyraz Demiralp

Tolga Uçağı


Yunus Emre Özbay


If you have Mouse Guard fanart you want to share, send it to ericebon(at)hotmail(dot)com and I'll get it into the next batch.


2015 Appearances:
C2E2 April 24-26
Motor City May 15-17
Denver Comic Con May 22-25
Heroes Con June 19-21
Long Beach Comic Con: Sept. 12-13
Baltimore Comic Con Sept. 25-27
New York Comic Con Oct. 8-11
Art-Bubble Comics Festival: Copenhagen: Nov. 14-15

Blog Archive