The second volume of Legends of the guard will be starting up soon. The first issue is being solicited this month, so let your comic shop know you want a copy. In this post, I wanted to share the process of making the cover for issue one.The inspiration for this cover came from two sources: The Mouse Guard RPG handbook and illustrator J. B. Monge.
 First, I leafed through the 'Denizens of the Territories" chapter in the RPG book to see if there were any species of animal listed there that I hadn't drawn that might be interesting enough for a cover. I landed on 'Salamander' and thought they would be very fun to draw and build a story around. I also had started studying Jean Baptiste Monge's illustrations, specifically his illustrations for fairy folk who had loaded up animals with gear & supplies. In my sketchbook I drew out some ideas for a mouse cave explorer & some Salamanders.
 I scanned the drawings from my sketchbook and mocked up a layout for the cover in Photoshop. Placing the mouse, the background stones and the salamanders on various layers, I could re-size and adjust the placement of each until I was happy with a layout (I also had to make sure there was room for the logo and such). Because so much of this cover would be reliant on the lighting from my inks & the final colors, I laid in a toned background and added some lighting references.
 Using the above digital composite as a guide on a lightbox I inked the cover on Strathmore 300 series bristol. The contour lines came first with a lot of stippling that followed to give all the suggestion of the direction of light. You may also notice that I added a different salamander. In the rough, I'd just copied over my 2nd salamander drawing to remind me I wanted another one in there. While I was inking I sketched up a third salamander and placed the sketch under the bristol to ink him on the final surface.
 Once the inks were done, I scanned them and started the process of coloring by flatting in all the color areas. This step is mainly to establish that different areas are different colors (the fur is different from the coat, is different from the rocks, is different from the salamanders, etc.) While these were not my final colors, I did try and have the mouse's hat echo the color of the salamanders (since the shape of it echoes their tails) and his coat echo the background color.
For the final rendering, I muted a lot of the colors and tried to get more contrasting lighting effects than I normally would. Here's another look at the cover art sans-logo & text.

Legends of the Guard Volume 2 #1 will feature stories from Ben Caldwell, Nick Tapalansky & Alex Eckman-Lawn, and Stan Sakai.
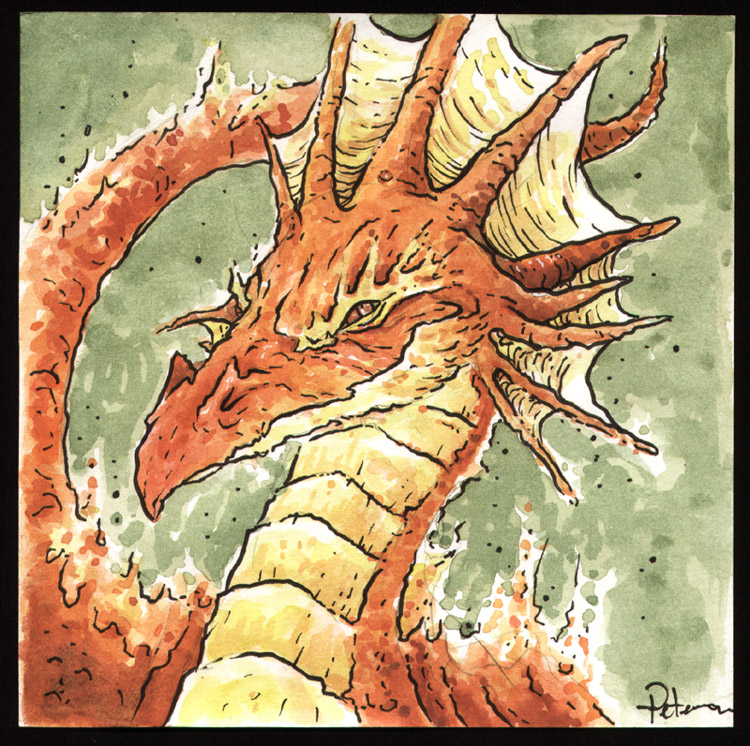
 Watercolor Wednesday:
 The watercolor from last week's Watercolor Wednesday is a piece called "The President of Nothing...Yet".
2013 Appearances:
C2E2: April 26-28
Spectrum Live: May 17-19
Heroes Con: June 7-9
Albuquerque Comic Expo June 21-23
San Diego Comic Con: July 17-21
*more 2013 dates coming*