

Below is the process for making the sign (and I'm sorry I don't have more in-process photos)

The original emblem design wasn't even created until recently--this didn't exist when I was drawing Fall, Winter, or Black Axe. It came about because when the movie was still in production, I was asked by the director Wes Ball if there was a emblem or sigil the Guardmice could have that would act as a symbol like a sherif's badge that could also double as a stamp for a wax seal. I wanted it to include the 3 tenants of the Guard: Swords, Defense, & Diplomacy (Saxon, Rand, & Kenzie). The outer shield gives the defensive element and forms a nice emblematic silhouette, and the sword & scroll fit inside nicely. I went with Gryffindor hues because they are my go-to most appealing when I started adding color.
I printed the emblem out at 10.5" wide X 12.5" tall. I had to print it in halves, and then tape the two sheets together to get a full symbol. And I did that process twice so that I had two paper emblems. One was spray mounted to a thin sheet of birch craft plywood and the other to a thicker sheet of 3/8" thick birch plywood. On the thinner sheet, I used the paper to guide me in cutting the outer contour. On the thicker piece, I cut out each section of the design, eliminating every bit of black outline around the shapes.
When I had every piece cut, I remove the paper printout, sanded it all smooth, and glued the thicker parts to the thinner backing.

When I had every piece cut, I remove the paper printout, sanded it all smooth, and glued the thicker parts to the thinner backing.
 When the glue was all dry, I gave the whole piece several coats of primer. I started with a grey automotive primer that it a little thicker than most. It's good for quickly covering the imperfections in the grain. Of course, I needed to sand in between each coat, so the piece got smoother and smoother as I went. This took enough coats, I lost count how many I did in total.
I do remember that my last two coats of primer were a black primer. I'd run out of the grey primer and the black primer I bought to replace it killed two birds with one stone since it was both a thinner primer AND would provide the darker tone for the gaps in the design.
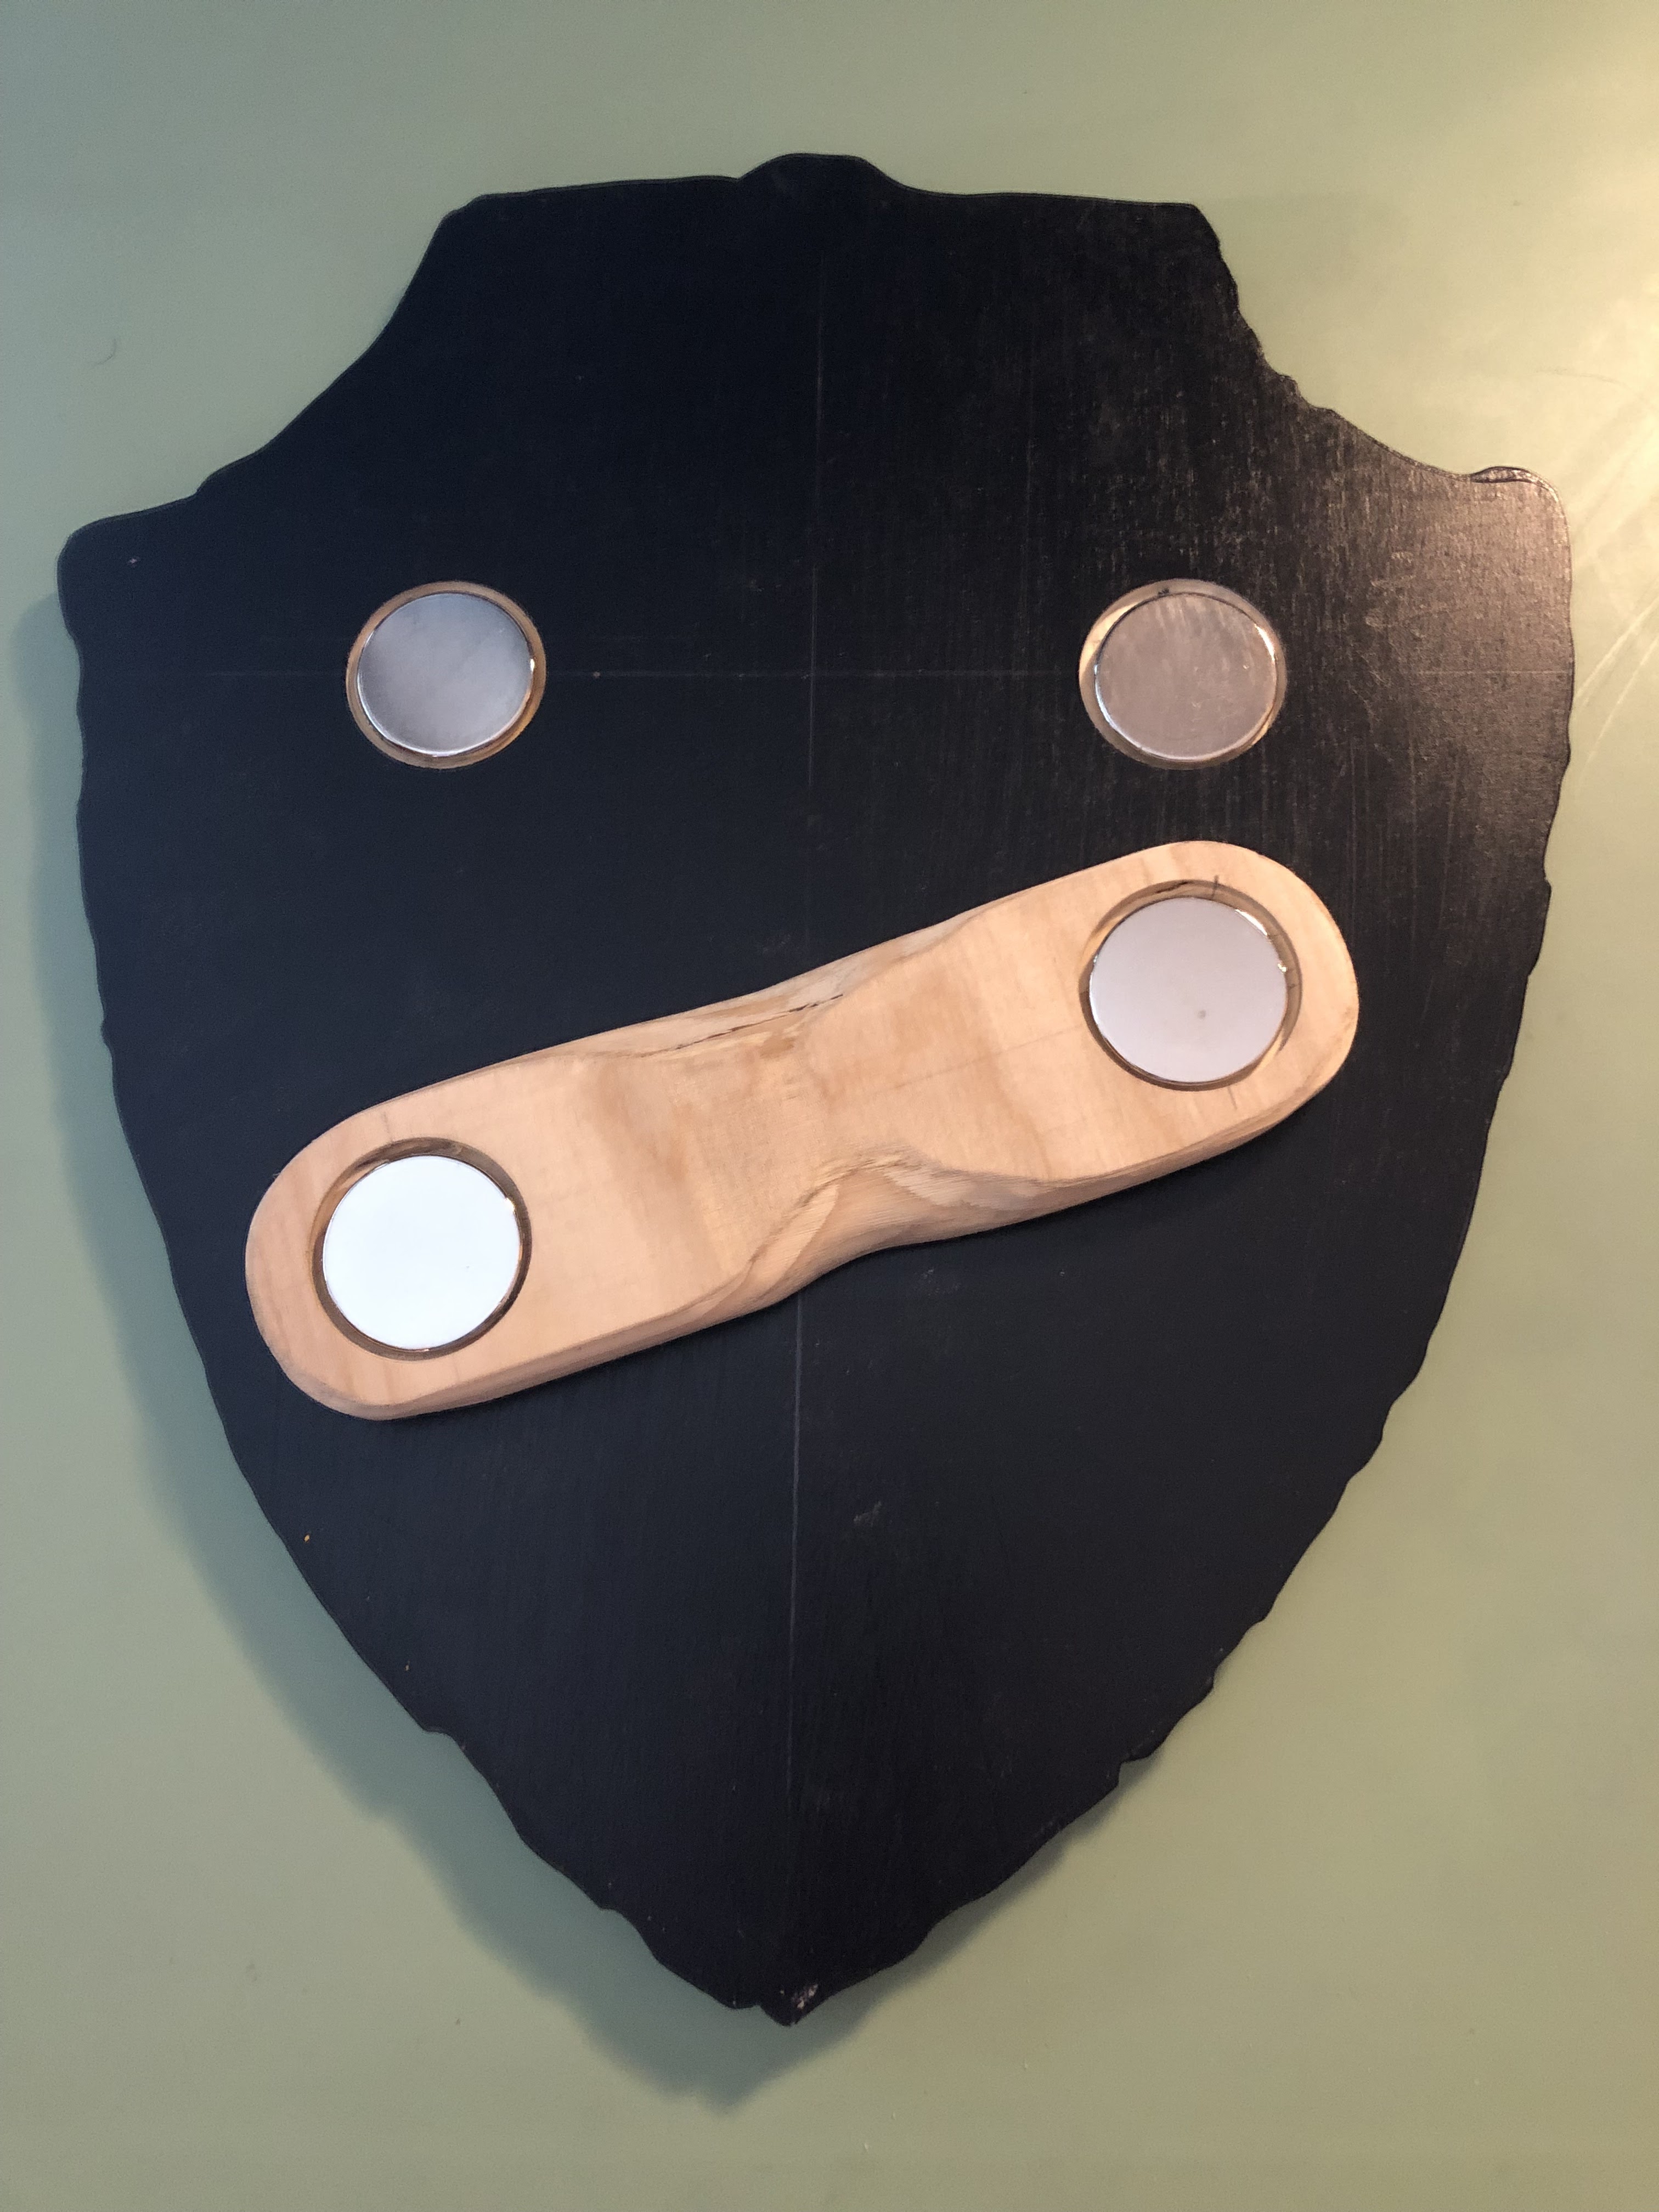
The magnets are strong enough they support the emblem to stay up on the thinner panel of my office door already.
The last step was to paint the top flat surfaces of the design the correct colors. I used acrylic paint tubes and a foam chisel brush to slowly apply the paint until I had good coverage without too many brush strokes.


No comments:
Post a Comment