

I worked on my piece live on my Twitch stream while viewers worked at home and then on Monday we shared our finished pieces.
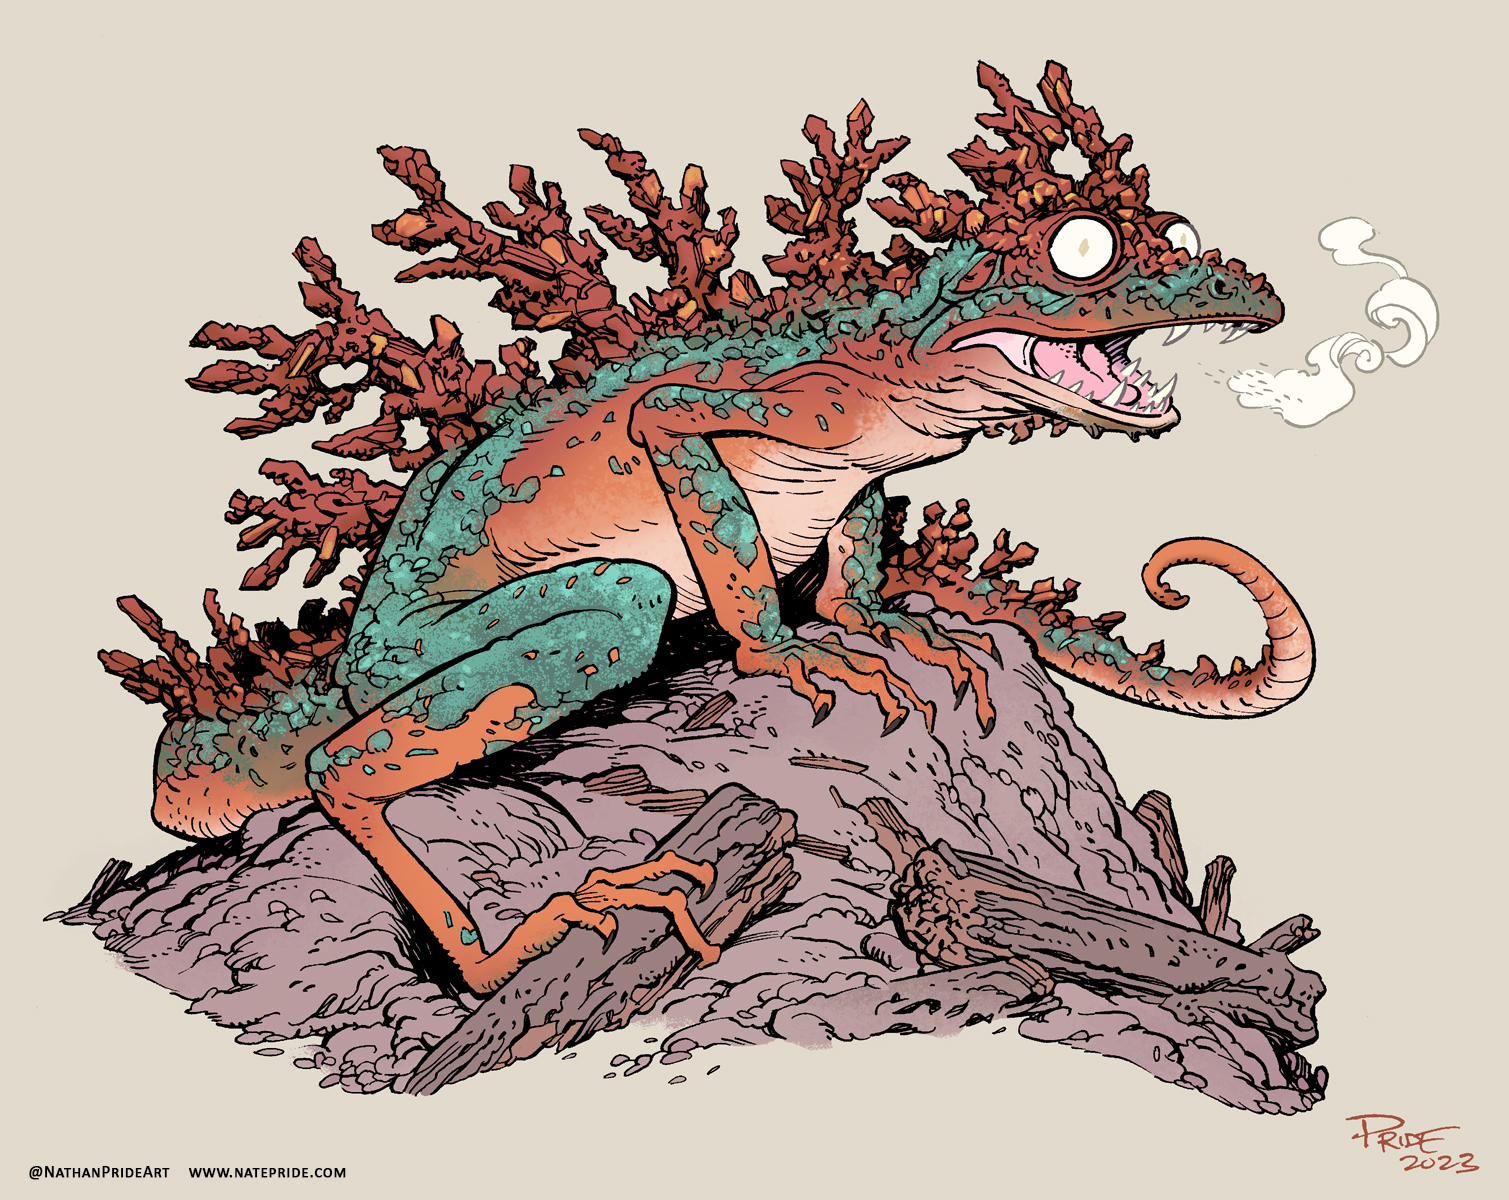
Here is my finished colored Dragon. And below are my steps to create it as well as the community submissions.

For #DiscoveringDragons, I post two or three prompt words for everyone to make into a dragon. It's a nice framework for artists of any skill level to focus some time on an 'assignment' to shake the rust off or get the pencil moving again––all while also being loose enough that there's plenty of room for individual expression and interpretation.
This month the prompt was two words: Frog & Copper.
I opened several tabs of google image searches of frogs, copper ore, dragon wings, and eventually frogspawn.

Because I'd run out of room on the copy paper for wings, I placed my original pencil drawing on a light pad and with a fresh piece of paper overtop of it, I drew the wing shapes. These were all then scanned into Photoshop and assembled with a quick blocking in of forms to help me see the silhouette of the character as well as the different parts (like the ing folds and hard scales vs the main body)

Before I started inking, I used a circle template on the printout to layout where I wanted eggs with little tadpole babies. The inking on this piece was about trying to use line wight to get the subtle wrinkles and hard textures without overwhelming the piece with too much texture.

Later that night I finished the color flatting process––basically professional coloring-in-the-lines. Some of this is just to make it easy to re-isolate various parts when doing later painting & rendering. So, I established the main skin color, something slightly darker for the spines, a dark color for the scales, a verdigris green for the belly & wing membranes, and lightest for the eyes, teeth, and eggs.
For the final colors I did most of the highlights, shading, and texture with the dodge and burn tools and a stock photoshop texture brush. But, I did use the paintbrush to help add in some color variance as well as a 'tarnish' layer on top (set to mode 'color') to spread and erode the green across the whole dragon. Below you can again see the final..


Capt.Nemo


VernNYC

Waddle Art

No comments:
Post a Comment