

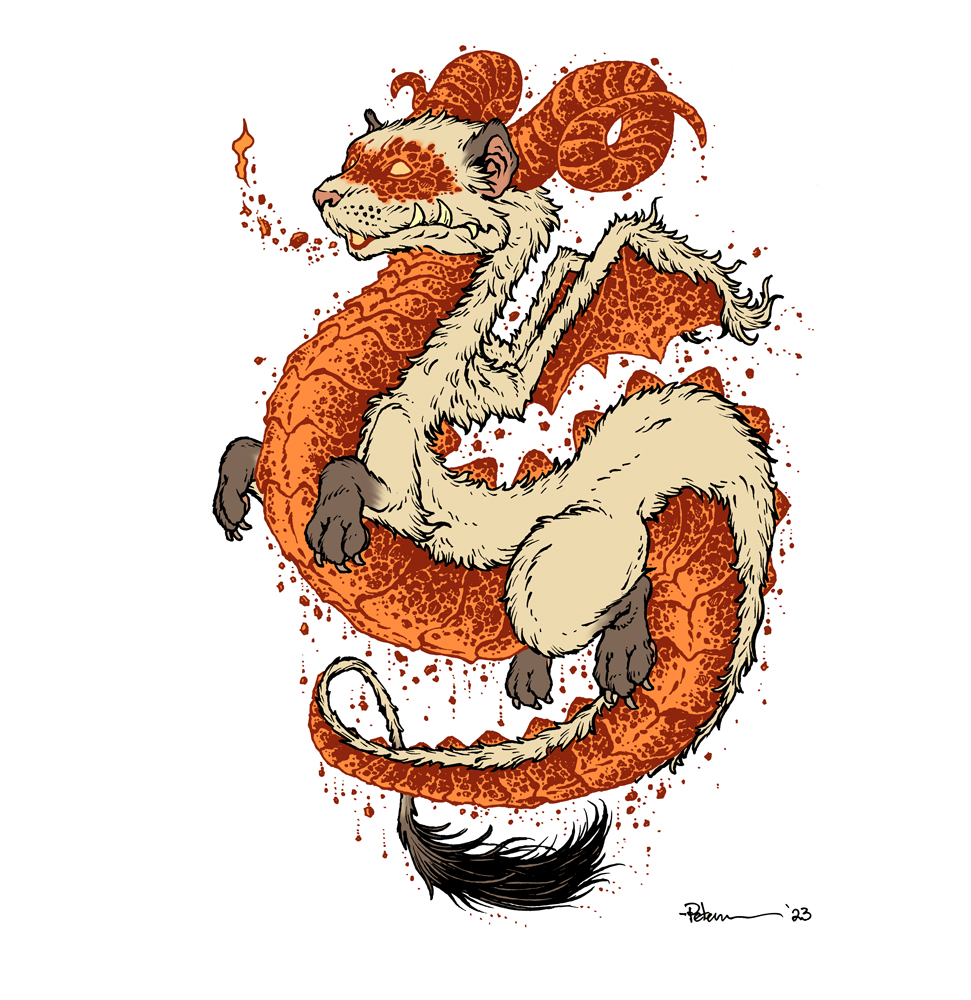
Here is my finished colored Ember Ferret Dragon. And below are my steps to create it as well as the community submissions.

This month the prompt words were Ferret & Ember. I opened a few tabs of google image searches of those words as well as one for 'dragons' as well as another artist I was inspired by 'Nora Patwora'

The wings I actually drew on a separate sheet of copy paper because I'd taken a few stabs at loose shapes on the original paper and wasn't happy. In photoshop I was able to combine the two drawings into this piece to the left.

After I was happy with my above design, I printed that piece out on copy paper and taped it to the back of a sheet of Strathmore 300 series bristol. Using a lightpad, I was able to see through the surface of the bristol as I inked the dragon. I used Copic Multiliner 0.7 & 0.3 SP pens to ink the art. I worked on the fur contours first, then dove in to the texture of the glowing ember bits. As I inked I started adding more of the falling ash and embers falling from his floating form.
 I was able to scan the piece and establish some color holds (areas where I want the ink to be a color other than black) before needing to sign off the stream for the night. I wished everyone luck with their pieces and told them we'd take a look at everyone's work on Monday.
After I had a break and some dinner, I got back into the coloring. That first step is to flat in the colors, basically professional coloring-in-the-lines.
For the final colors and all the highlights, shading, and texture I used the dodge and burn tools with a stock photoshop texture brush. I also selected areas and used the color balance tool to tint them warmer or cooler. Below you can again see the final rendered dragon.

But, as this is a community event, I wanted to share all the other entries posted in the Discord.


No comments:
Post a Comment