Tuesday, March 28, 2023

2023 Bookplate Process

 Each year I do a new Mouse Guard bookplate for sale at conventions and in my online store. The idea is that this mini-print can be pasted/taped into your book(s), you can write your name in to identify it as yours to borrowers, and since the bookplates are signed, it means you now have a signed book. I try and make each year's bookplate art some medium the mice would/could use. I've done stained glass, relief printing, embroidery, mosaic, etc in past years––this year I went with a proper painting.

Unfortunately I didn't take any photos as I worked, but I think I've cobbled together a few images that will still illustrate the process.


This was not the first idea for the bookplate. Originally I'd worked up an illustration to look like a simple engraving, but scrapped it as the bookplate art and re-used it as a sticker (which I'll post about next week).

To start on the physical painting, I did a quick digital painting to get in the painter's mindset (form over line) on my iPad in Procreate. 

This was to help me practice painting, but also just to come up with the composition of the piece itself that I could transfer on to canvas. 
And I could also look to this digital version to reference as I painted the traditional version to get value reference.


At Blick art supply, I picked up a little pack of 6" x 6" pre stretched/mounted canvases. I resized and printed out the digital painting to match the pre-stretched canvas and with a sheet of graphite paper in between I was able to transfer the drawing onto the canvas.

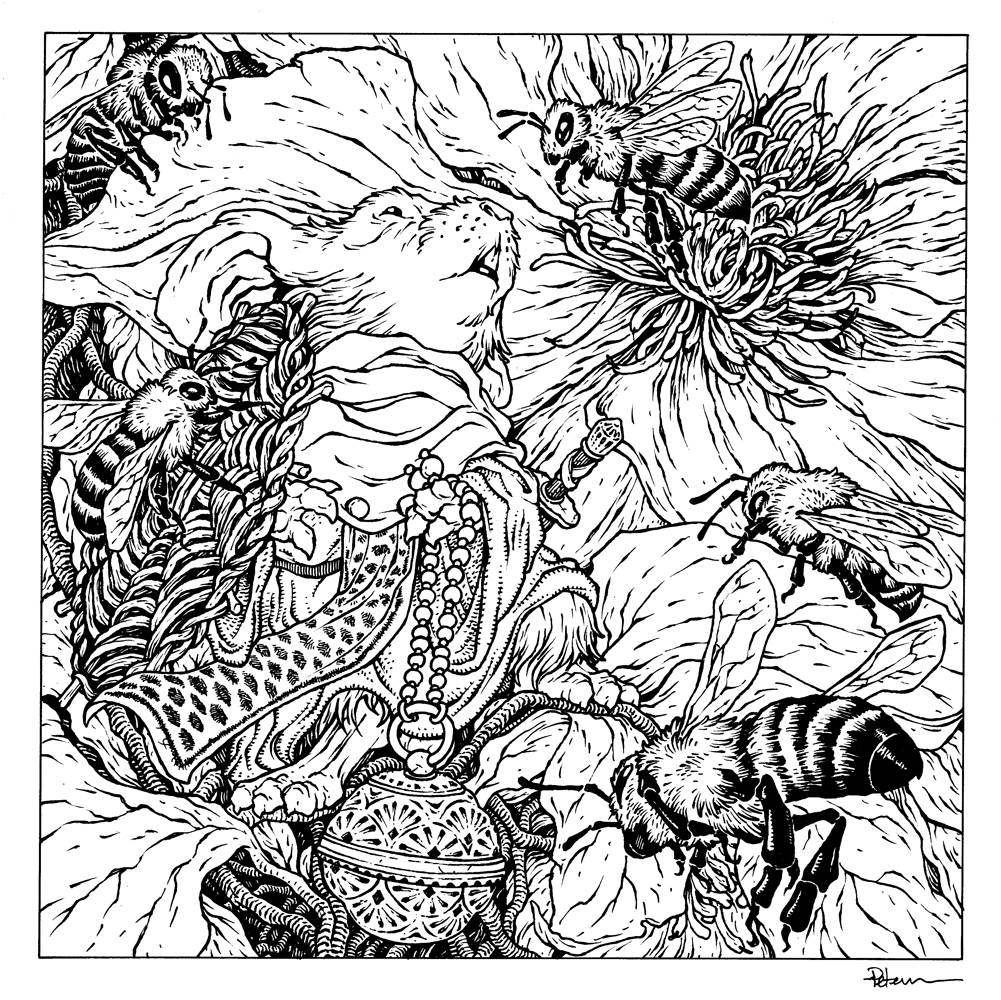
In some ways, this felt like I was moving backwards. I'd just worked up a digital painting to commit to lit forms and here I was reducing that into line again

As I mentioned above, I forgot to take photos during the process, so here's a photo of the traced printout, used graphite paper, and another blank canvas

To paint the piece I used acryla gouache (recommended to me by Tony DiTerlizzi many years ago). I'd already done a quick practice mouse in gouache before starting this bookplate piece on a piece of chipboard (see photo) and decided to use that was my palette on this piece.

I wouldn't recommend using something like chipboard as a palette. Since it's absorbant, the colors aren't as true as they will appear on the primed canvas. But the water content will also get sucked into the chipboard and dry everything out quicker than you might like, not to mention that fiber from the chipboard will lift and clog up the end of your brush.

I'm sad I didn't take process photos as I painted this piece. I'd have liked to show how I built up the layers. Once the piece was finished, I scanned it and did a little digital touch up by adding a little bit of highlight to the upper left and shadow to the lower right.

The bookplate is available in my online store: mouseguard.bigcartel.com


Tuesday, March 21, 2023

Clematis Print Process

Each Year I create a new limited edition signed and numbered 11" x 11" print. The tradition started many years ago when Julia urged me to create a new print for a convention or event that was 'just pretty'. She thought that we had plenty of images of mice wielding swords and threatening snakes and owls––that the audience, especially women, appreciated when I just drew tender moments, or nature, or flowers.  I followed her advice, and for years now fans have proven her right by anticipating and purchasing the new square print I offer.

This year the piece is titled 'Clematis'. Below I'll show the step-by-step of creating the art.

We have a large clematis growing up our non-functioning lamppost in the front yard. Each year huge violet blooms cover the leafy tangle of fines for a few weeks. I took a photo of them last summer and had it sitting on my phone to use as reference for this year's print.

I drew the mouse (the first Matriarch to tame bees to bring to Lockhaven) on copy paper, then on different sheets of paper drew the smoking censer and the woven shield (inspired from medieval beekeeper masks). The background and bees were all drawn from reference photos. I assembled all the drawings in Photoshop, and then gave it a quick flat color pass so I could more easily see the forms (what was bee wing and what was leaf, or pedal)

When I liked the above layout, I printed it out on copy paper and taped it to the back of a sheet of 12" x 12" Strathmore bristol. On my A3 Huion lightpad, I was able to see through the surface of the bristol down to the printout and use it as a guide to ink from.

I used Copic multiliner SP pens (the 0.7 & 0.3 nibs) to ink the piece. I did most of this inking on my Twitch stream.


I scanned the inks and began the coloring process with painting in flat colors to establish what areas are what colors––this process is called 'flatting'. I had most of my color palette already established from my layout (and that I had a reference of this mouse from the stained glass version of here in Black Axe, as well as the real-word colors for the bees and flowers).

In this step I also established color holds (areas where I want the inks to be a color other than black) on the lines behind the mouse, the bee's wings, and her tabard embroidery.


Here again are the final colors. I rendered them using the dodge and burn tools with a stock textured brush in Photoshop. I also would lasso areas and adjust the color balance to make subtle shifts to colors (like the bee's butts and the flower pedals). I used a brush made from a thumbprint scan to paint in the smoke emanating from the censer. 

The final print is available for purchase in my online store

mouseguard.bigcartel.com

Tuesday, March 14, 2023

Ancient Storm Stag Dragon

Last Friday on my Twitch Stream, we did the #DiscoveringDragons Community-Draw-Along! Normally it happens on the first friday of the month, but because I was at Emerald City Comic Con on the first friday, we postponed it until the second friday for this month. It's a fun event where I welcome all skill levels to push their pencils (or whatever tools they use to make art). I worked on my piece live on my Twitch stream while viewers worked at home and then on Monday we shared our finished pieces.

Here is my finished colored Dragon. And below are my steps to create it as well as the community submissions.

For #DiscoveringDragons, I post two or three prompt words for everyone to make into a dragon. It's a nice framework for artists of any skill level to focus some time on an 'assignment' to shake the rust off or get the pencil moving again––all while also being loose enough that there's plenty of room for individual expression and interpretation.

This month the prompt words were Ancient, Storm, and Stag. I opened a few tabs of google image searches of those words & one for 'dragons'. 

I knew going into this dragon that I wanted to push a sense of scale more than my previous pieces.


I started with a pencil drawing on copy paper of an elk head and then a separate drawing of the body shape & pose. I used a kneaded eraser to lighten the elk feature enough that I could draw more dragon-ish features that happen to be in the shape of an elk's head. I assembled those drawings in Photoshop and added a photo of a stag's antlers. In this step I was able to make adjustments, resize, reposition, and refine the rough shapes.

I then printed it out so I could do the tighter pencil drawing you see to the left on top of it on a light pad.

After I was happy with my above design, I printed that piece out on copy paper and taped it to the back of a sheet of Strathmore 300 series bristol. Using a lightpad, I was able to see through the surface of the bristol as I inked the dragon. I used Copic Multiliner 0.7 & 0.3 SP pens to ink the art. I started with the head, but them moved down to the body. I hesitated on the antler-like spines down the neck and tail, so I postponed on those, moved on to the antlers before needing to end the Twitch stream for time concerns. After I had some dinner, I came back and redrew the antler spines and inked them in off stream.


At the end of my stream I'd wished the viewers all luck with their pieces and told them we'd take a look at everyone's work on Monday. After I finished the inks, I also wanted to draw some weather effects to get 'storm' in the piece more. So I inked a separate cloud on a piece of scrap, and the lightning on the back of the dragon art. 

I scanned them all, assembled them and started the coloring process. That first step is to flat in the colors––basically professional coloring-in-the-lines.


 For the final colors and all the highlights, shading, and texture I used the dodge and burn tools with a stock photoshop texture brush. I also did a little bit of painting with a brush on the cloud effect. Below you can again see the final rendered dragon.


But, as this is a community event, I wanted to share all the other entries posted in the Discord.

anelalani


SoulSeekerOlga


Capt.Nemo


InkyPencil


Nuvalo


RedSkwrl


Doombot2015


Sarah Crumb


Tuesday, March 7, 2023

Mike Davis' Wordless-Fill-In-Comics

Back in the early/mid 00's, my friend Mike Davis (Rand) and I had an idea for him to draw very quick simple comic strips that I would post (mainly on the CBR Hellboy Forums) for other folks to fill in their jokes. I colored most of these (and added a subtle color halftone to push the idea of them being newspaper comic strips.

We did a few as contests (I think I mailed a sketch to the person who's entry got the most fan votes), but I felt like this would have been a great publishable book (with more polish and production) where the pages are a glossy board book stock that colorform or post it style balloon shaped stickers could be placed on and easily removed. Anyhow, here is the full run of the wordless comics Mike drew and I posted over 20 years ago.


If you want to download any of these and try your hand at digitally adding in some balloons, text, and jokes, I'd be happy to do a follow-up post of everyone's efforts.

Blog Archive