

This year the piece is titled 'Clematis'. Below I'll show the step-by-step of creating the art.

We have a large clematis growing up our non-functioning lamppost in the front yard. Each year huge violet blooms cover the leafy tangle of fines for a few weeks. I took a photo of them last summer and had it sitting on my phone to use as reference for this year's print.
I drew the mouse (the first Matriarch to tame bees to bring to Lockhaven) on copy paper, then on different sheets of paper drew the smoking censer and the woven shield (inspired from medieval beekeeper masks). The background and bees were all drawn from reference photos. I assembled all the drawings in Photoshop, and then gave it a quick flat color pass so I could more easily see the forms (what was bee wing and what was leaf, or pedal)
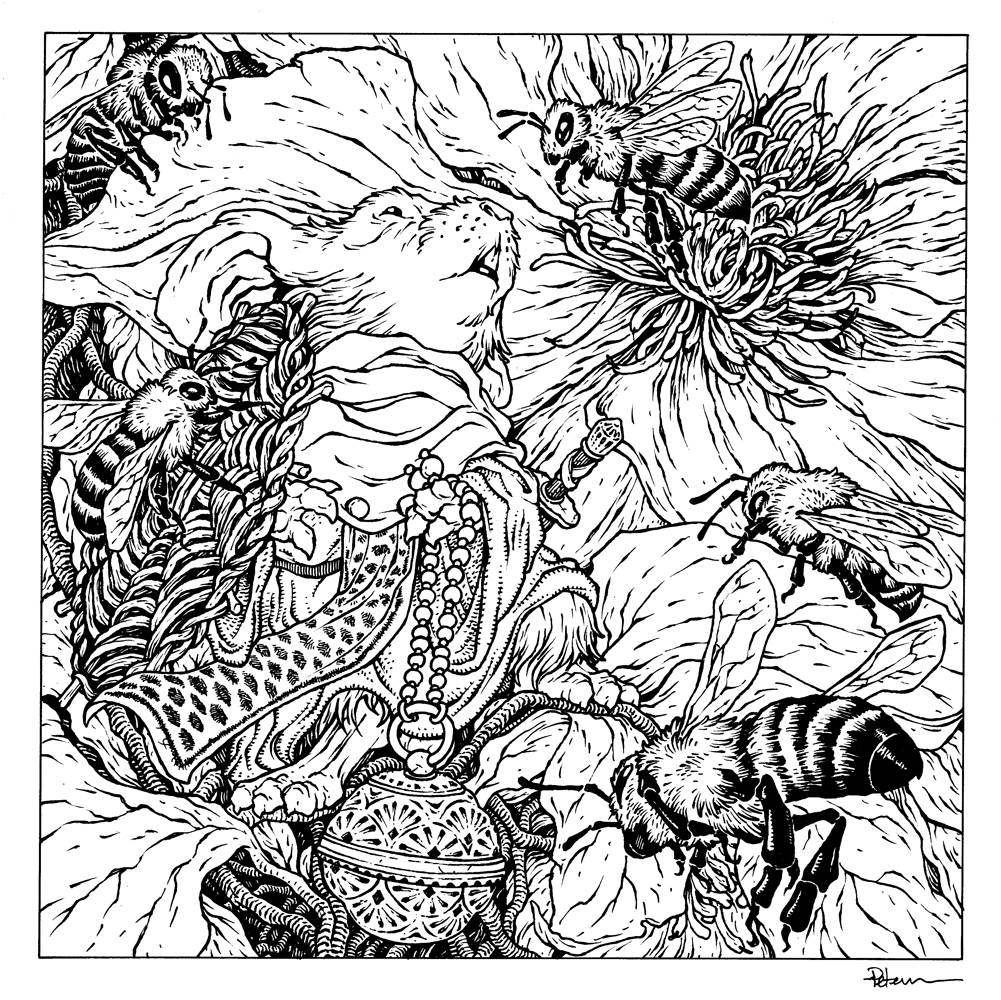
I used Copic multiliner SP pens (the 0.7 & 0.3 nibs) to ink the piece. I did most of this inking on my Twitch stream.

I scanned the inks and began the coloring process with painting in flat colors to establish what areas are what colors––this process is called 'flatting'. I had most of my color palette already established from my layout (and that I had a reference of this mouse from the stained glass version of here in Black Axe, as well as the real-word colors for the bees and flowers).
In this step I also established color holds (areas where I want the inks to be a color other than black) on the lines behind the mouse, the bee's wings, and her tabard embroidery.
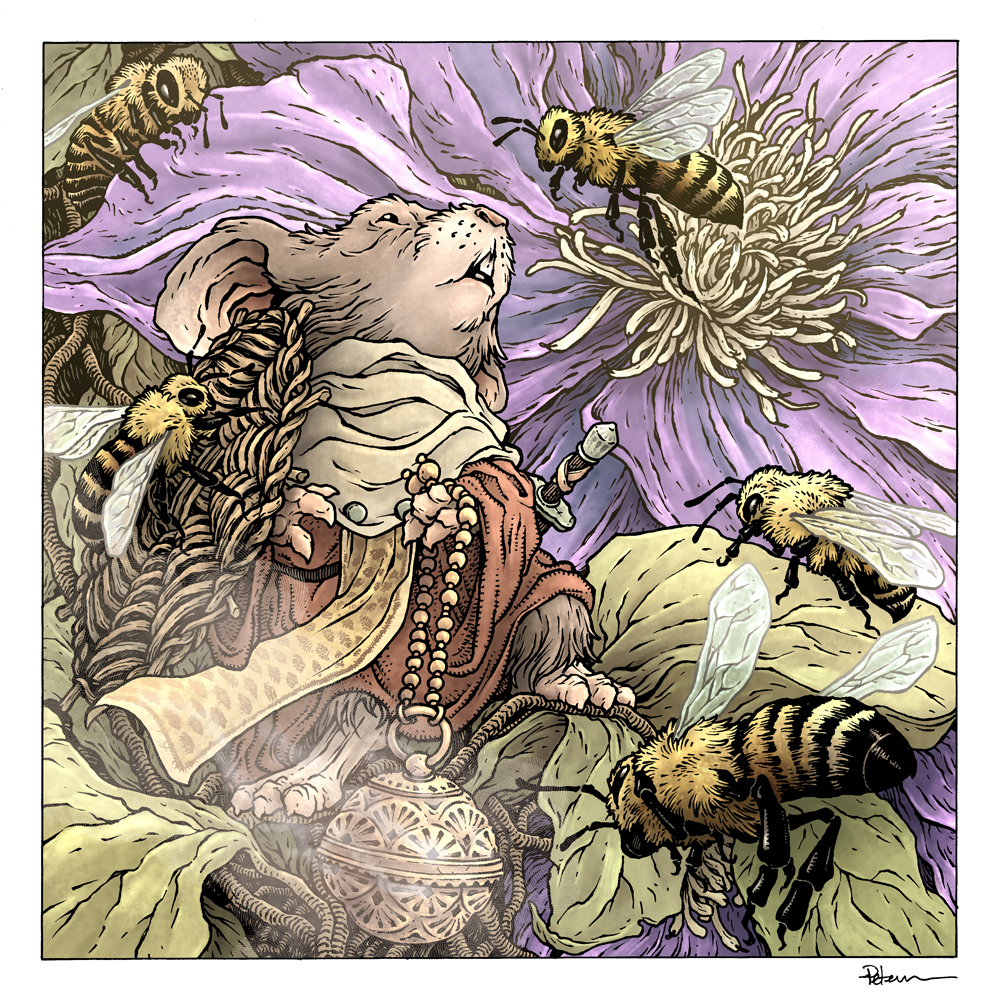
The final print is available for purchase in my online store

No comments:
Post a Comment