
For this year's convention appearances (and for my online store) I created a few new prints. Today I'll be walking through the process of this larger one to the left. It's 11x14.
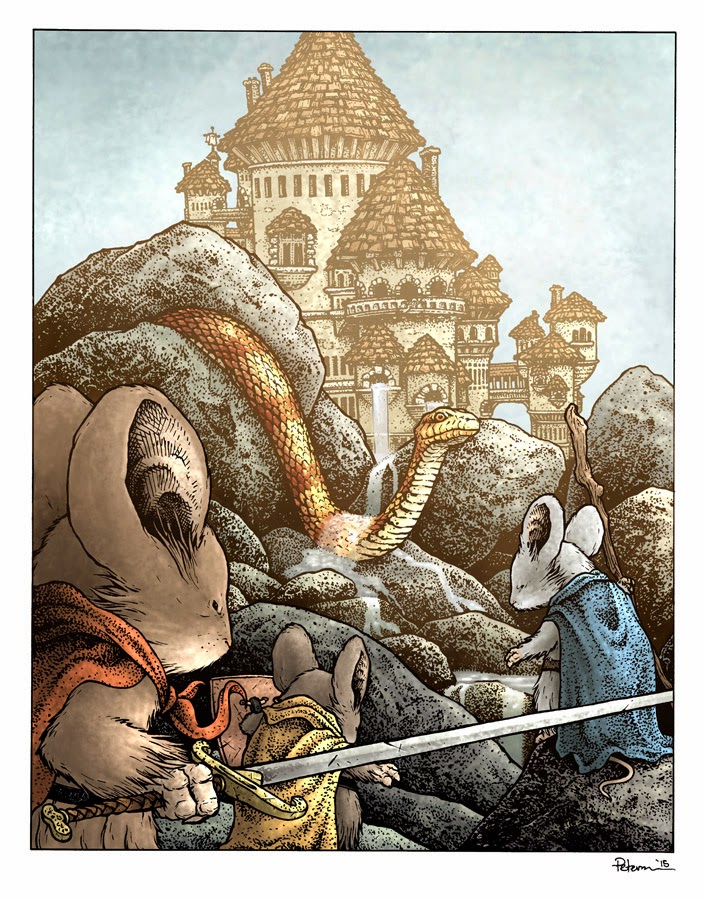
Because I knew the piece wold be one of the larger prints I offered, I decided for it to be a full scene father than just posing characters or a portrait. To the left is the finished artwork, but below is the process steps I took to get there.
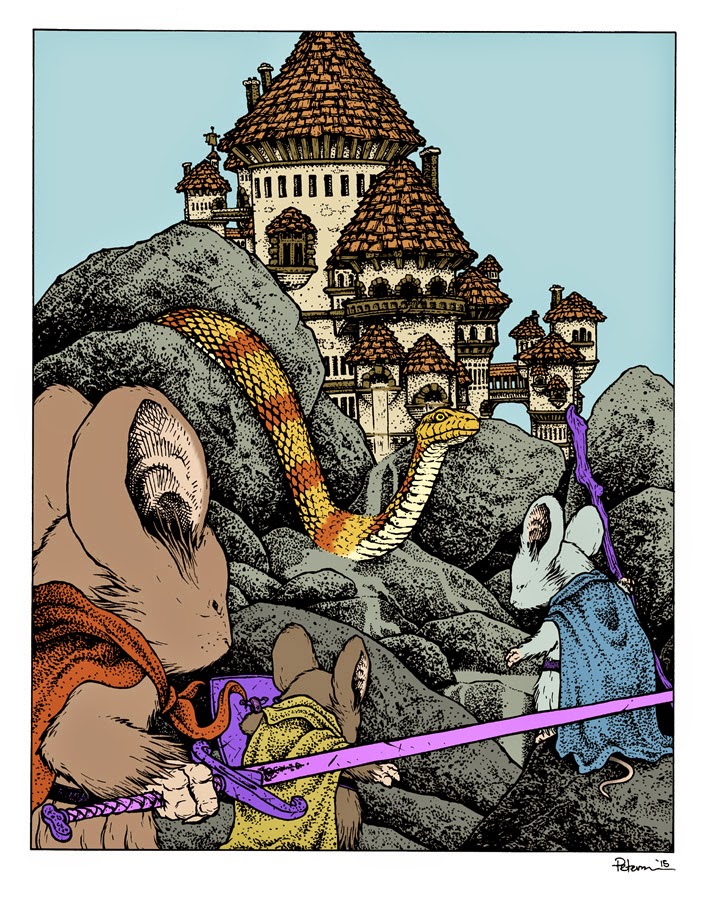
 My first idea for this piece was to have mice battling a snake, after all, it is what worked and grabbed people's attention in the first ever issue of Mouse Guard. While researching snake species, I found a photo of a Northern Water Snake going through a trickle of water cascading off some rocks. It was rather subtle, not battle to the death imagery. But, I liked the idea of drawing mice approaching/discovering an unaware (but alert) snake on the way to some mouse city.
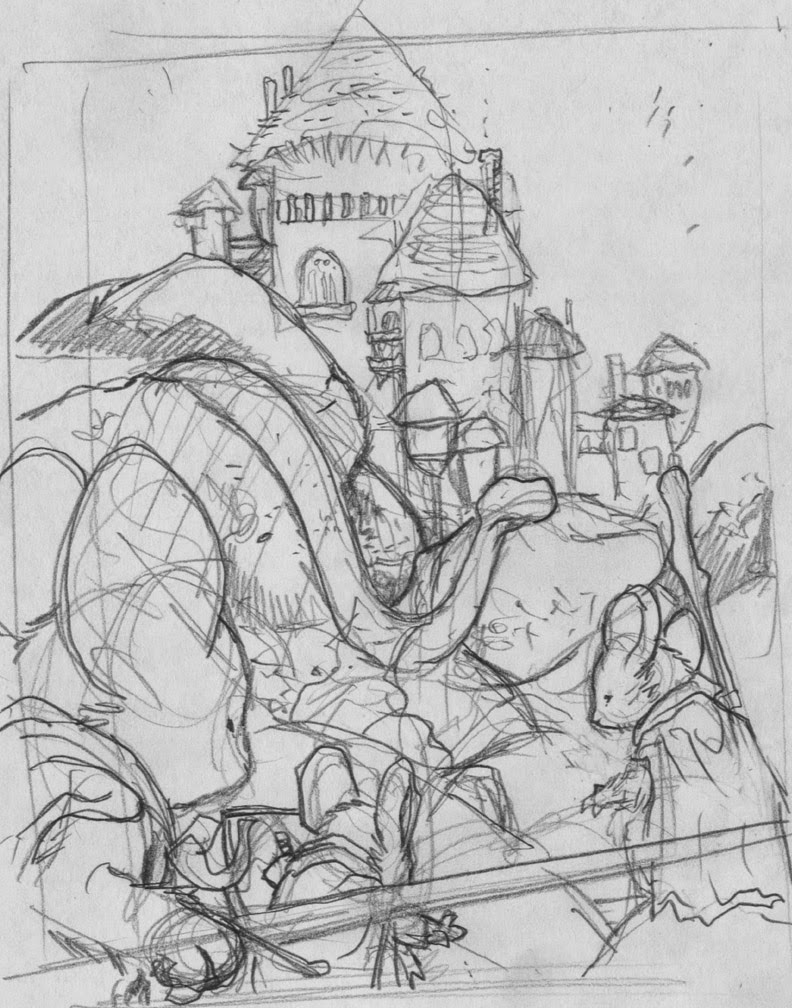
This pencil sketch was drawn at 4" x 5" to get the basics of my concept to paper. As I drew in the mice here, I decided they should be Saxon, Kenzie, and Rand.
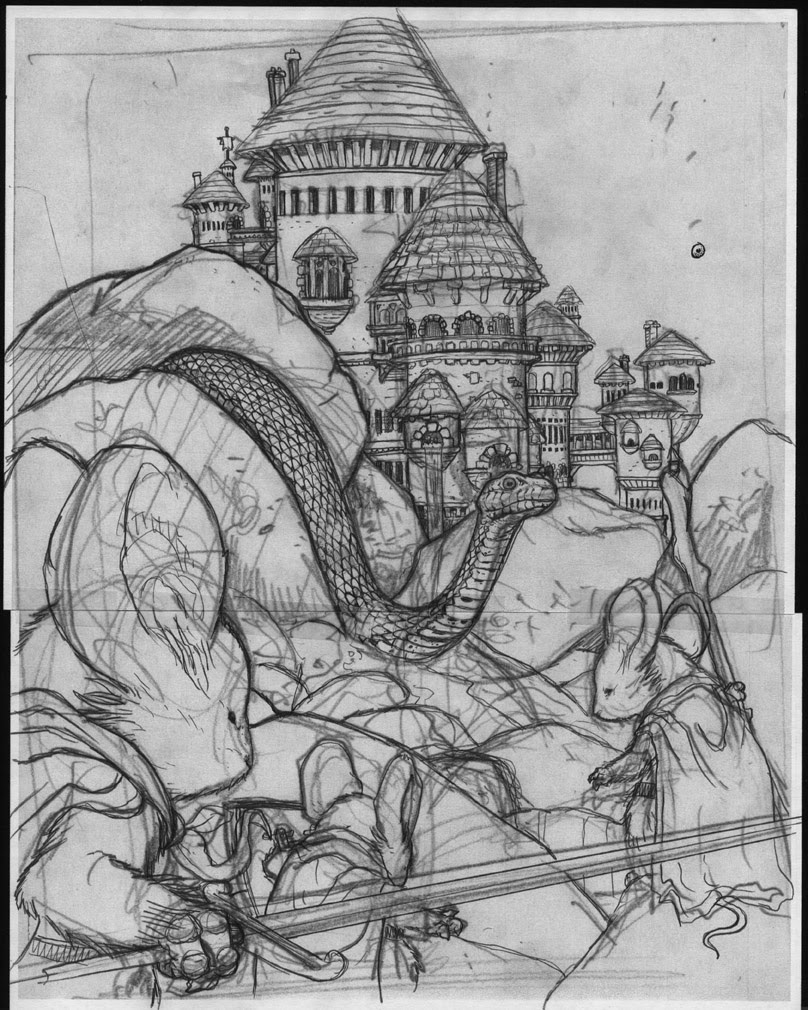 I scanned that small sketch and in photoshop, enlarged it to the exact size I needed the final art to be and then printed it out. It would all fit on one sheet of paper, so I printed the top and the bottom and then taped them together. On this printout, I drew over the printed sketch to define the snake and the city as well as to tighten up other details.
Sometimes when I do this, I then re-scan the drawn on printout and make other adjustments, but this time, I didn't think I needed to, so I taped the printout to the back of a sheet of Strathmore 300 series bristol to start inking.
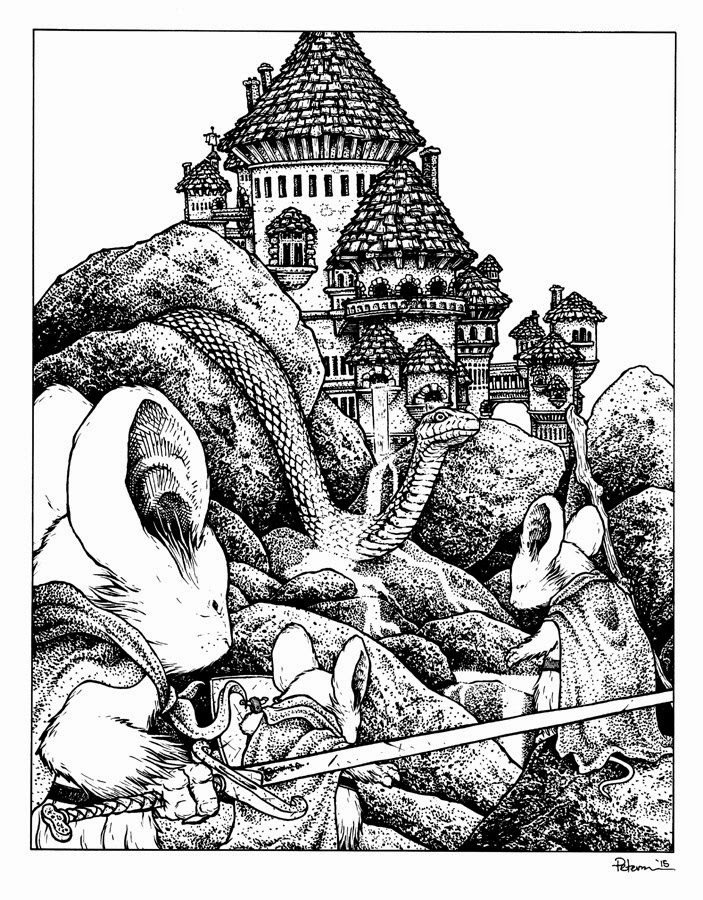 On my lightbox I can see the printout and new pencil lines through the surface of the bristol. This allows me to use the printout as a guide when I ink. For pens, I used Copic Multiliners (the 0.7 & 0.3 nibs mainly).
The piece is larger than most Mouse Guard pieces: 11" x 14" and so it took a while to ink in all the value on the rocks and the castle details.
 Once the inks were finished, I started the coloring process by flatting the piece in Photoshop. Flatting is the part of coloring where you establish the areas of color. No rendering, lighting effects, or textures are being used or considered, this is just to make the fur a different color than the cloaks, which is different from their skin, which is different from...etc.
Then the final stage of coloring was to add in all those things you avoid while flatting: texture, light source, shadow, color holds and effects, etc.
To the right you can see the finished image. I thought the image lacked depth when just colored, so I added color holds and some effects to give 3 levels of depth: the foreground mice, the midground snake, and the background castle.
This print will be available at my convention appearances and in my online store soon.
My first idea for this piece was to have mice battling a snake, after all, it is what worked and grabbed people's attention in the first ever issue of Mouse Guard. While researching snake species, I found a photo of a Northern Water Snake going through a trickle of water cascading off some rocks. It was rather subtle, not battle to the death imagery. But, I liked the idea of drawing mice approaching/discovering an unaware (but alert) snake on the way to some mouse city.This pencil sketch was drawn at 4" x 5" to get the basics of my concept to paper. As I drew in the mice here, I decided they should be Saxon, Kenzie, and Rand.
I scanned that small sketch and in photoshop, enlarged it to the exact size I needed the final art to be and then printed it out. It would all fit on one sheet of paper, so I printed the top and the bottom and then taped them together. On this printout, I drew over the printed sketch to define the snake and the city as well as to tighten up other details.Sometimes when I do this, I then re-scan the drawn on printout and make other adjustments, but this time, I didn't think I needed to, so I taped the printout to the back of a sheet of Strathmore 300 series bristol to start inking.
On my lightbox I can see the printout and new pencil lines through the surface of the bristol. This allows me to use the printout as a guide when I ink. For pens, I used Copic Multiliners (the 0.7 & 0.3 nibs mainly).The piece is larger than most Mouse Guard pieces: 11" x 14" and so it took a while to ink in all the value on the rocks and the castle details.
Once the inks were finished, I started the coloring process by flatting the piece in Photoshop. Flatting is the part of coloring where you establish the areas of color. No rendering, lighting effects, or textures are being used or considered, this is just to make the fur a different color than the cloaks, which is different from their skin, which is different from...etc.Then the final stage of coloring was to add in all those things you avoid while flatting: texture, light source, shadow, color holds and effects, etc.To the right you can see the finished image. I thought the image lacked depth when just colored, so I added color holds and some effects to give 3 levels of depth: the foreground mice, the midground snake, and the background castle.
This print will be available at my convention appearances and in my online store soon.
2015 Appearances:
Motor City May 15-17
Denver Comic Con May 22-25
Heroes Con June 19-21
San Diego Comic Con July 8-12
Long Beach Comic Con: Sept. 12-13
Baltimore Comic Con Sept. 25-27
New York Comic Con Oct. 8-11
Art-Bubble Comics Festival: Copenhagen: Nov. 14-15

No comments:
Post a Comment